Start Here

Ideas and thoughts about fishing, fly tying, and rod building. DIY rod grips using 3D printing.
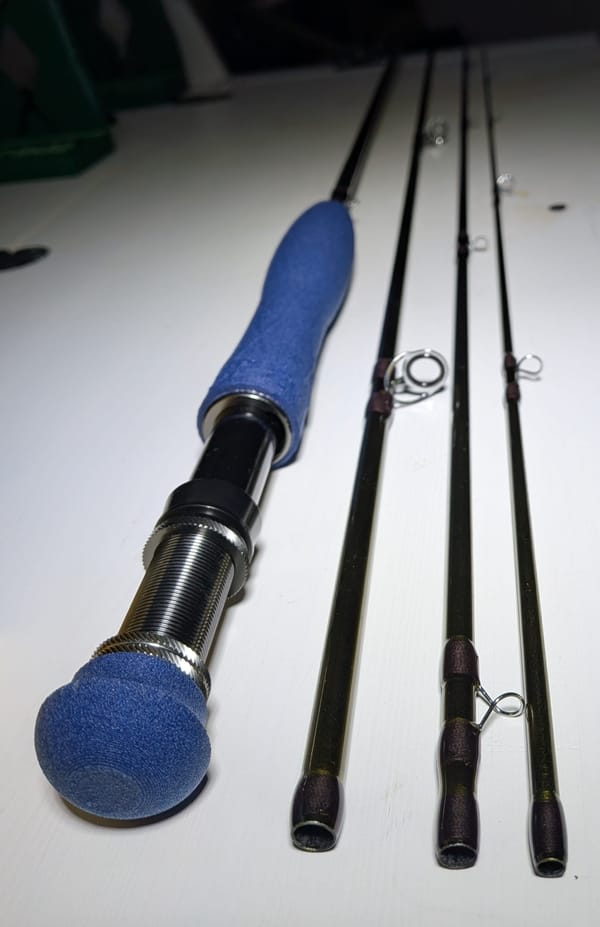
Many say you can't make a rod grip with 3D printing. I suppose they imagine it's just plastic — hard and brittle. It would be, if you printed the grip with PLA or PETG filament. My first grips were made with those hard plastics and they were terrible. Slippery and squeaky. They broke when the rod got caught in a door. I tried with flexible TPU filament and managed to make perfectly functional grips. But regular TPU prints end up too heavy because you have to use multiple walls and a lot of infill to achieve sufficient rigidity. The feel of the rod has to be maintained.
The winner is foamable TPU filament. It's light and durable. It feels like velvet on the fingers. It doesn't absorb water and bug spray can't harm it either. It's kind of similar material to what Crocs are made of. Maybe exactly the same. When using these filaments, keep in mind that bright red won't print as bright red. All colors fade more or less when printed with this foam method. Black stays almost black, and denim comes out almost dark blue, but those too are somewhat faded.
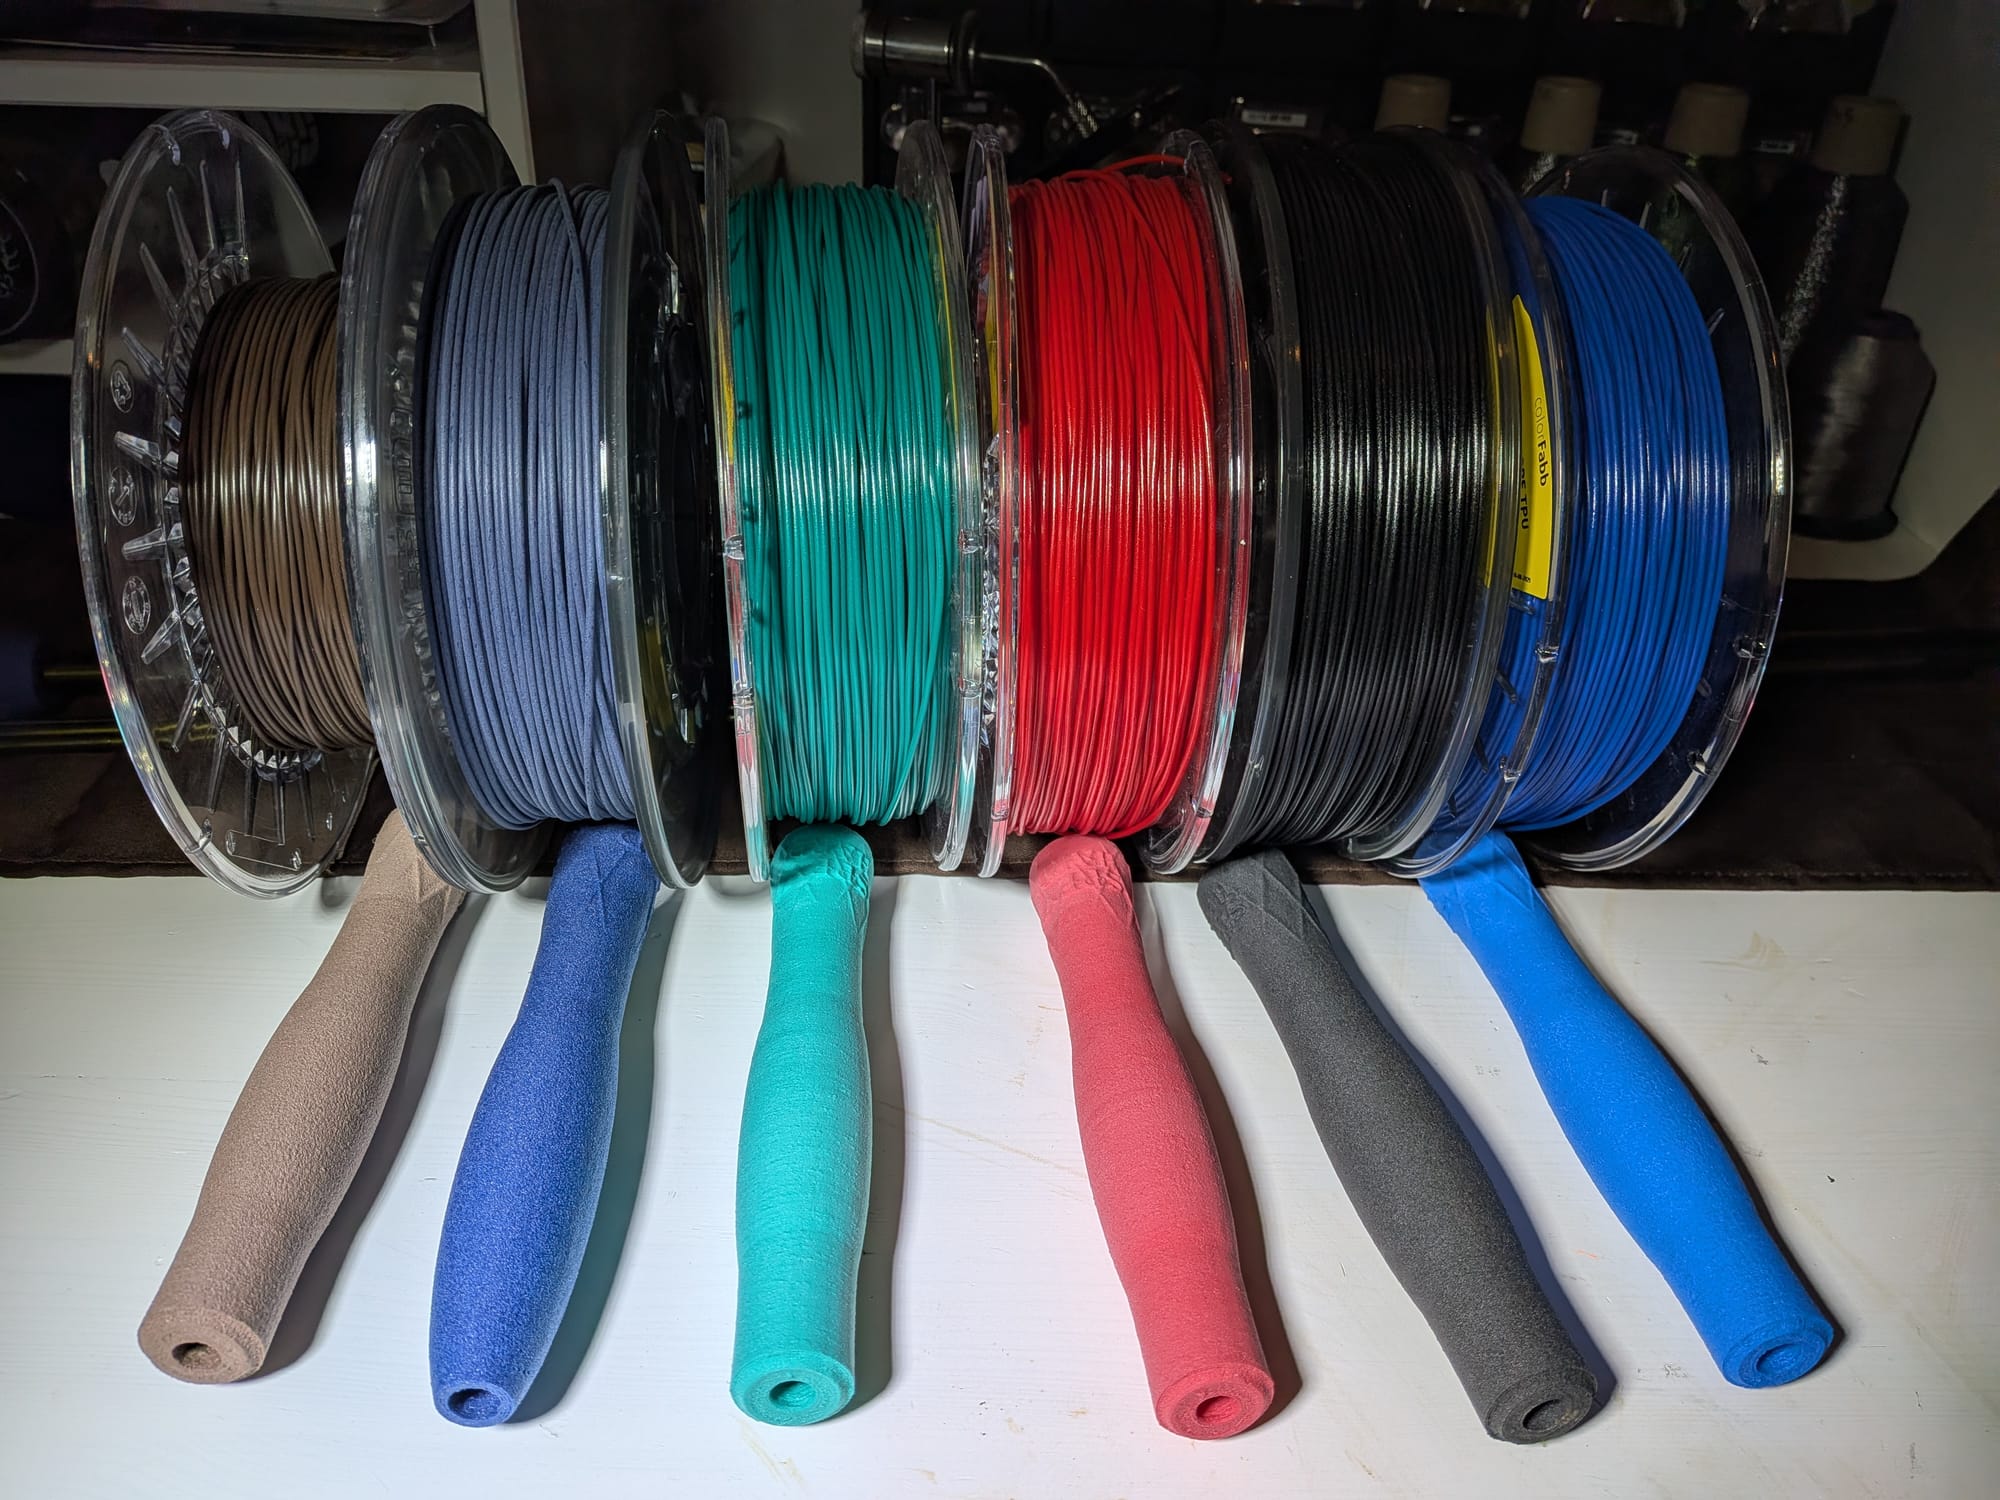
I've personally used foam filament from two different manufacturers: Recreus and Colorfabb. There are differences between them. Recreus requires more walls and infill compared to Colorfabb. I'd recommend starting with just one manufacturer's filament and doing your experiments with that. It's always its own challenge to find the right print settings for your specific printer, no matter which filament we're talking about. I won't go through this process because it's an endless rabbit hole. I'll give some recommendations for print settings, but printing itself just has to be learned or outsourced to someone who already knows how. Filament manufacturers' websites have good guides to get you started. There's nothing for it but to test, and then test a little more. Buy 2-3 spools at once so you don't have to order more right away. At least for me, the beginning was a pile of failures. But once you dial in the settings, one spool prints a fair number of handles. You don't really want to buy ten spools at once either, since the price hovers around €40-60 per spool.
You also need a 3D printer. The most important feature is a direct drive extruder. From my own experience, I'd say printing foam filament is impossible without one, at least if you want clean results. The extruder needs to be close to the nozzle so you can feed the filament without extra delays. Pretty much every printer on the market has sufficient build volume in terms of width (handle width is usually about 3cm). Height (Z-axis) should be at least 20cm. That lets you print a single-handed handle directly, which are typically 17-19cm. The same machine can also make the front handle for a two-handed rod (30-40cm) by printing it in two or more parts. Just glue them together.
I use an old Artillery Sidewinder X2 for printing these. Not a great machine, but it gets the job done. Maximum print height is 40cm. I've even printed spey rod front handles in one go with it, but with foam filament the last 10cm have been pretty rough print quality. Flexible material starts swaying as you go higher, so the surface doesn't stay smooth. I haven't tried making these with delta (e.g. FLSun) or XY-Core printers, but theoretically they might handle tall handles more cleanly. In those, the print bed doesn't move sideways at all, which should eliminate extra wobbling. Print head contact probably causes some sway with those too, but I'm not sure how much. I've just made two-handed handles in two or more parts. They come out perfectly fine that way. No point chasing perfection. As long as you're happy with it, that's enough.
The whole grip project starts with 3D design. I've made videos going through this process. I use the free Tinkercad program, which works directly in a web browser. Just log in and start designing. You can use a better program, but Tinkercad handles everything needed for this more than adequately without a thousand extra tweak buttons cluttering the work. Keep it simple.
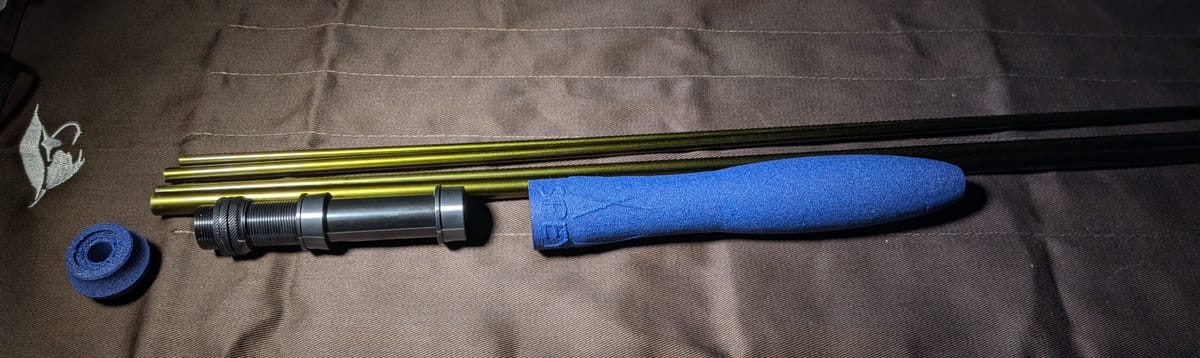
I thought about selling my parts as STL files, but I don't understand why anyone would pay for them when you can easily make them yourself. Those parts are custom-sized anyway. Not everyone happens to have the exact same reel seat available. As for the blank hole, those should fit reasonably well on other #5-6 blanks and even some #7 blanks if you really shove it in. And I add the text SPEY HARD to all my creations anyway, which might not suit everyone. You can remove it from the STL file reasonably easily, but if you're willing to go through that effort, you might as well design the whole handle yourself.
In short, the goal is to share knowledge on how to make a rod handle through 3D printing. Along the way there'll be other topics too, but that's the main purpose. I've now spent a couple of summers fishing with grips I printed myself and there's nothing wrong with them. They work, and you get exactly what you want. The same approach works for fly rods, spinning rods, jigging rods, and whatever else. Shape and size are fully adjustable.
I'm from that generation that likes to read instructions in book or printed form. I probably would have made a booklet, but this involves elements that don't really work sensibly in a printed version. You'd need a better wizard than me to explain 3D design software in writing. And 3D printing requires a computer anyway, so let's feed this information into the world as bits.
Spoiler
Before anyone rushes off shopping, let it be said that this isn't necessarily the easiest path into rod building. I did it myself and saved money. Yep. But you should already own a suitable 3D printer and have appropriate filament spools lying around in corners — then all you need to do is start making. If you have to buy everything and possibly learn to use a printer from scratch, it becomes a fairly long project. You won't go bankrupt though if you get the cheapest possible printer. After that, money only goes toward filament and printer spare parts. In printers too, everything that can break will break. Nozzles, belts, motherboards, displays, power supplies, etc. If you keep at it long enough, the entire printer gets rebuilt from new parts. And a few of those replacement parts have already been swapped out a couple of times. The original aluminum frame holds together as long as you remember to tighten the screws now and then.
One way or another. Give it a try. And you can cast with the stuff I've made if you happen to bump into me or other members along some riverbank.
Tight lines and happy printing!
Tuomo
Disclaimer: This blog describes our own way of doing things. They are not recommendations, and are by no means correctly done. The same end result can be achieved in many different ways. If for some reason you do things the same way as us, do it at your own risk.