Fly Rod 7wt 9ft — New Filament and Tying Decorative Thread

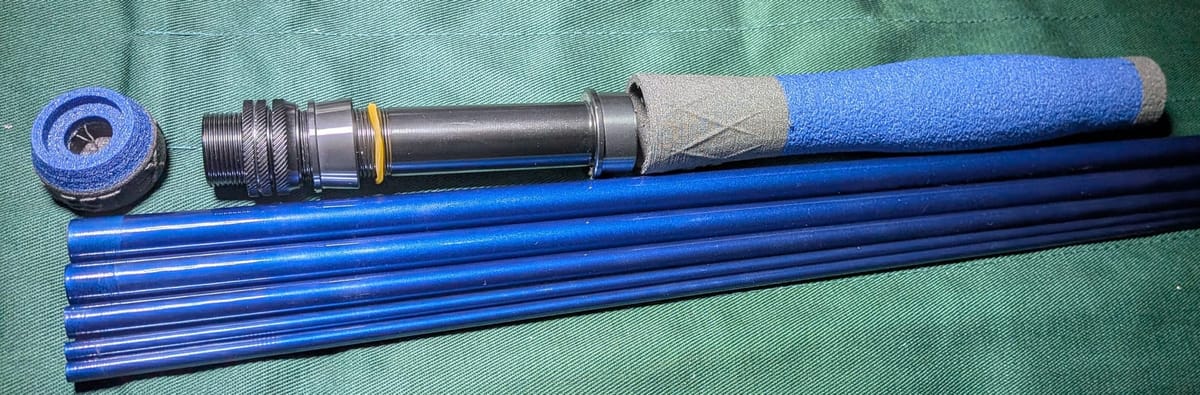
I ordered eSUN's foaming filament for testing, since the price was lower than the filaments I normally use. It turned out to be a positive surprise, but the color selection is still quite small at the moment. The available colors were only black, white, and grey. Naturally I ordered black, since that's what I use most in my handles. I did the prints with the same settings as my other foaming filaments, the only difference being that I used a 0.4 mm nozzle. Compared to a 0.6 mm nozzle the print times are of course longer, and I also had to change some settings (e.g. volumetric speed) in the slicer before I got even passable print quality. Recreus has good tips on their pages. https://recreus.com/en/pages/print-parameters
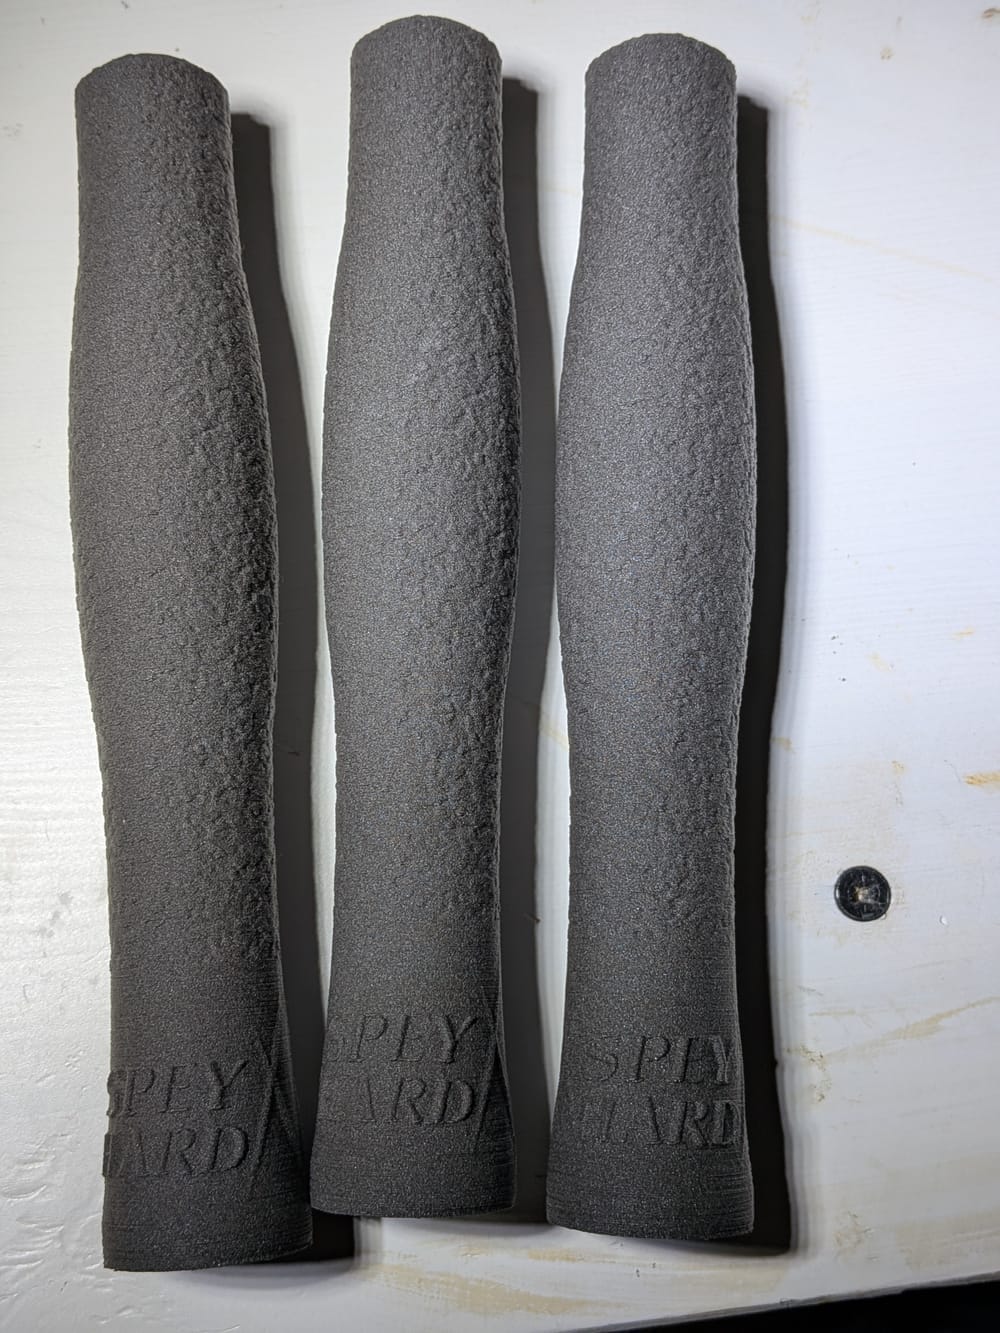
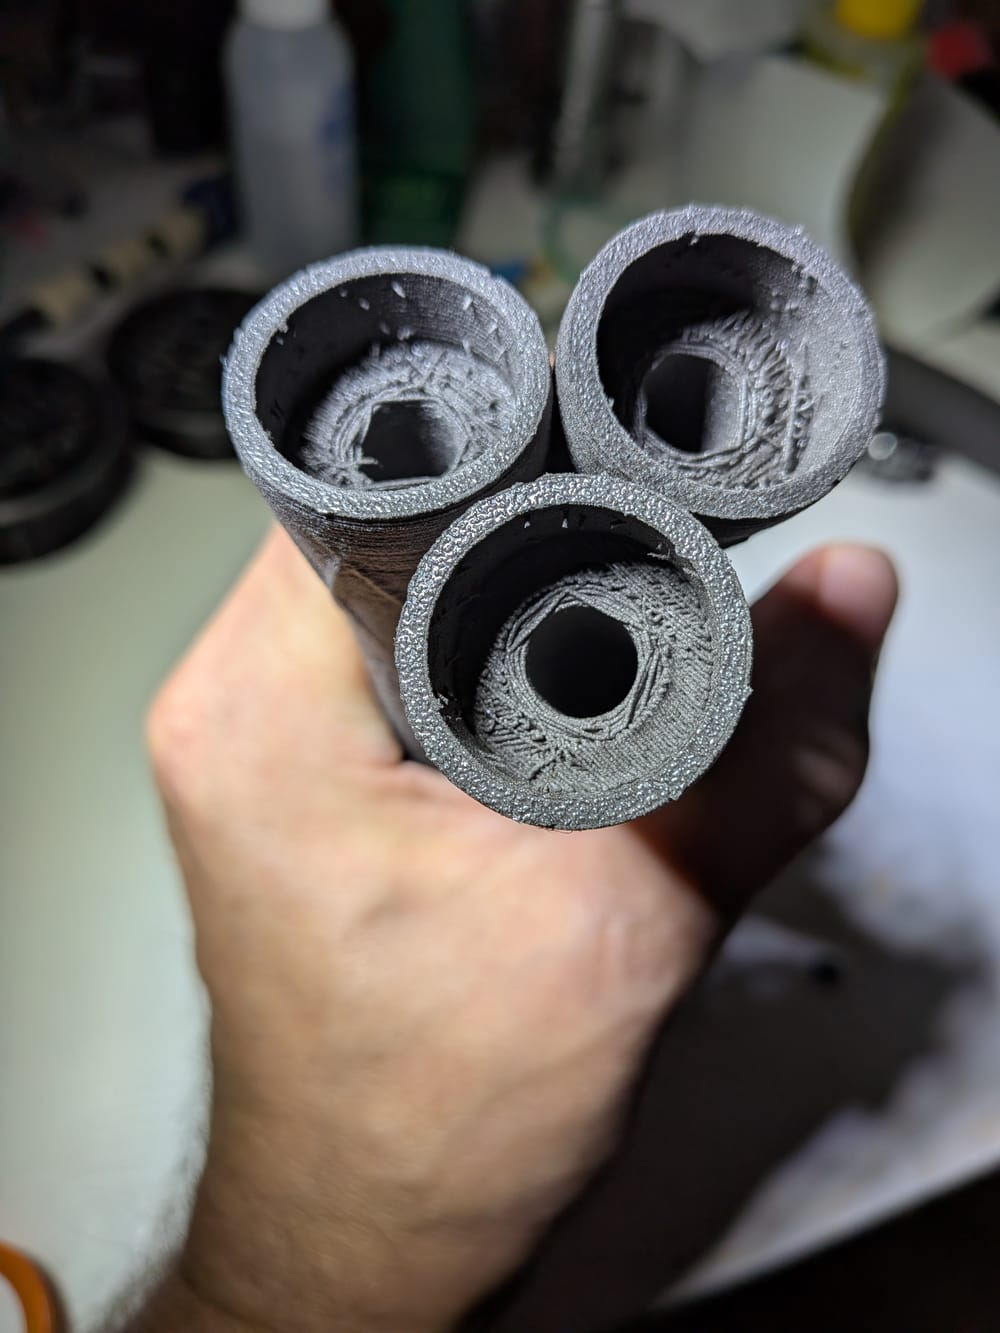
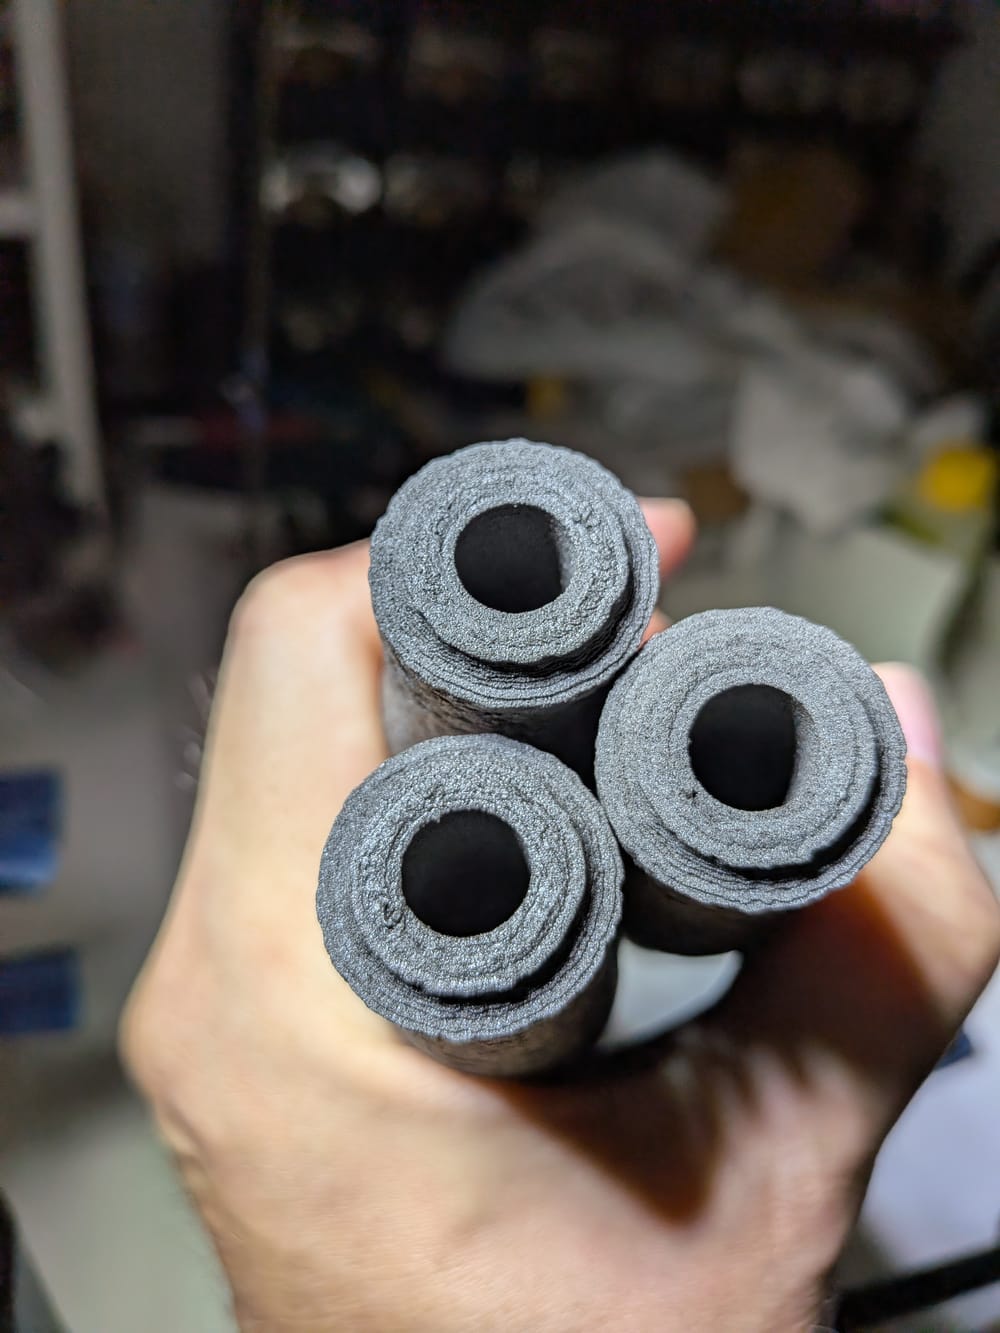
The pictures above show handles printed with different fan speeds — I used three different settings for these: 0%, 20%, and 100%. There was barely any difference in weight: 0% gave a 24 g handle, while 20%/100% came out as 25 g handles. To my fingers the feel is exactly the same in all of them, and you can't really tell from the outside which one was printed at which fan speed. The socket in the bottom section of the handle, printed with support, was as expected cleanest at 100% (middle picture, bottom), and the upper part of the handle was a touch cleaner and more matte at 100% (the right-hand one in the last picture). These differences have no practical significance, so I'd say this really is an easy filament to print for this purpose. The test pieces have 3 walls and 19% honeycomb infill, 250 °C, fuzzy skin voronoi 36.65 mm upward.
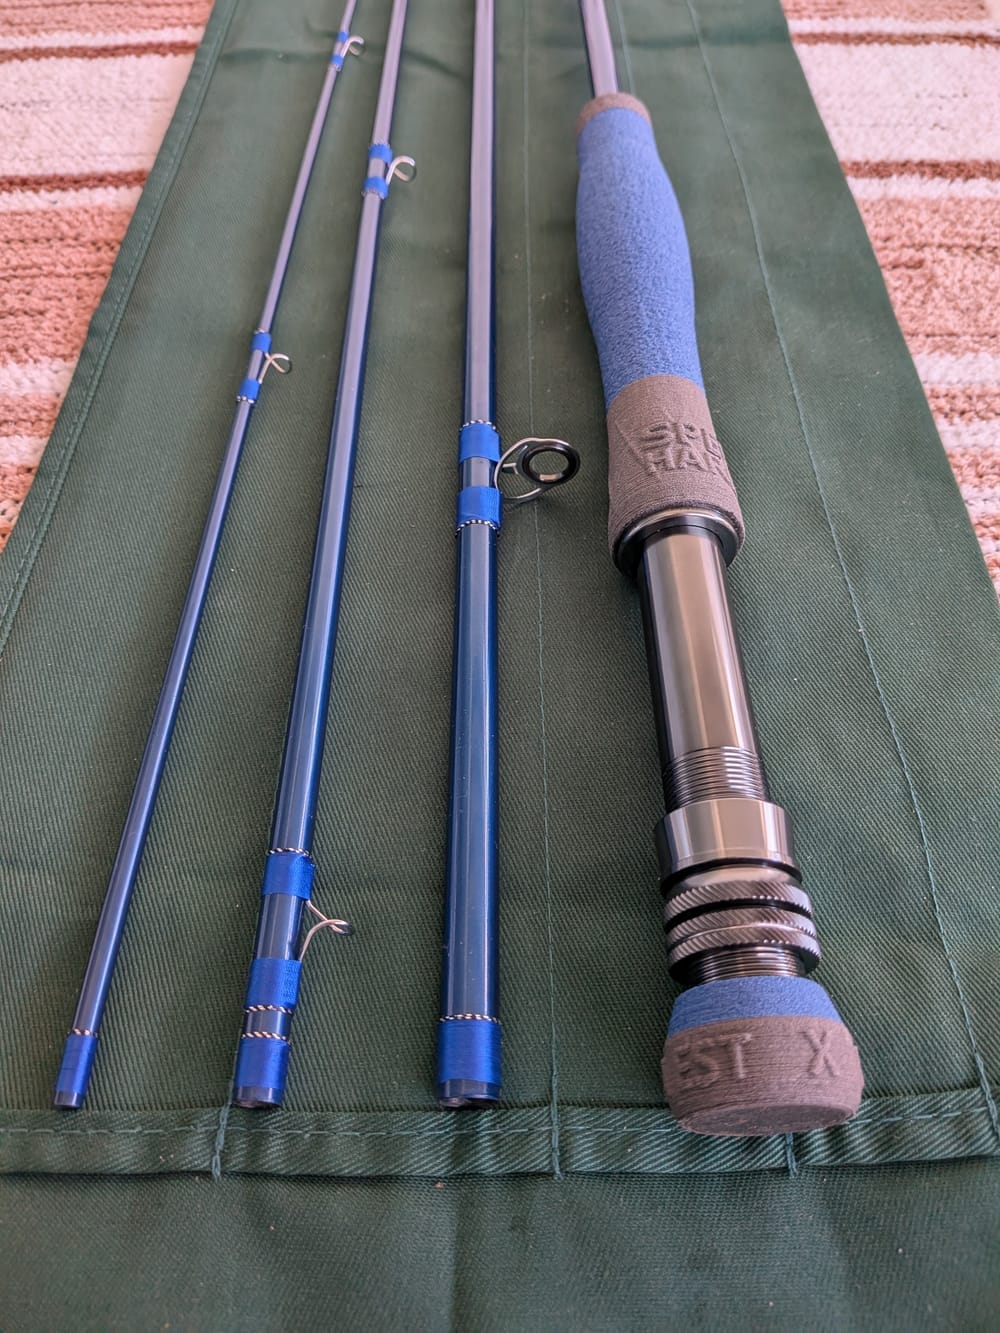
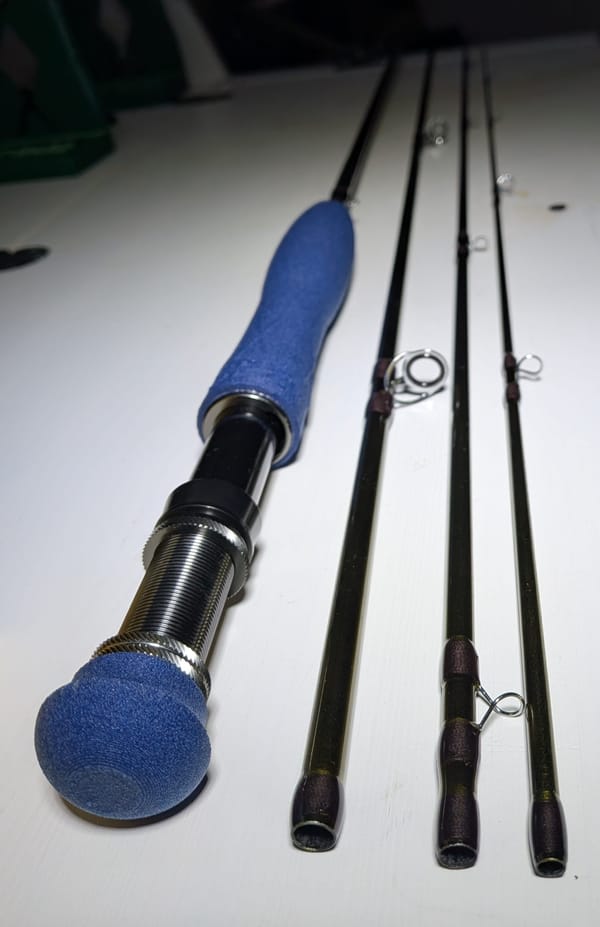
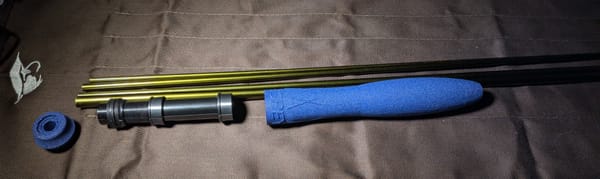
I printed the dark parts of the handle section for the Aventik Saltwater IM10 9FT blank with this eSUN black filament. On the fighting butt I duly put the text "LINEA IACTA EST" — the line has been cast. I've uploaded this handle and fighting butt to Printables, where you can read the exact details of the materials used and the positions of the rod guides.
I meant to write a bit more about those silver-and-black decorative wraps. Once you've spent time watching how the wrapping gurus do them on YouTube and tried to follow along, you may or may not succeed. Either way, there are difficulties in store at first, and I'd honestly advise just forgetting about them if they feel too hard.
But if you do want them in your wraps, you don't have to do it with such a serious face. Cheat a little. I cut corners myself when making them. You can of course do it the proper way, but there's no practical need for that. They're pure decoration.
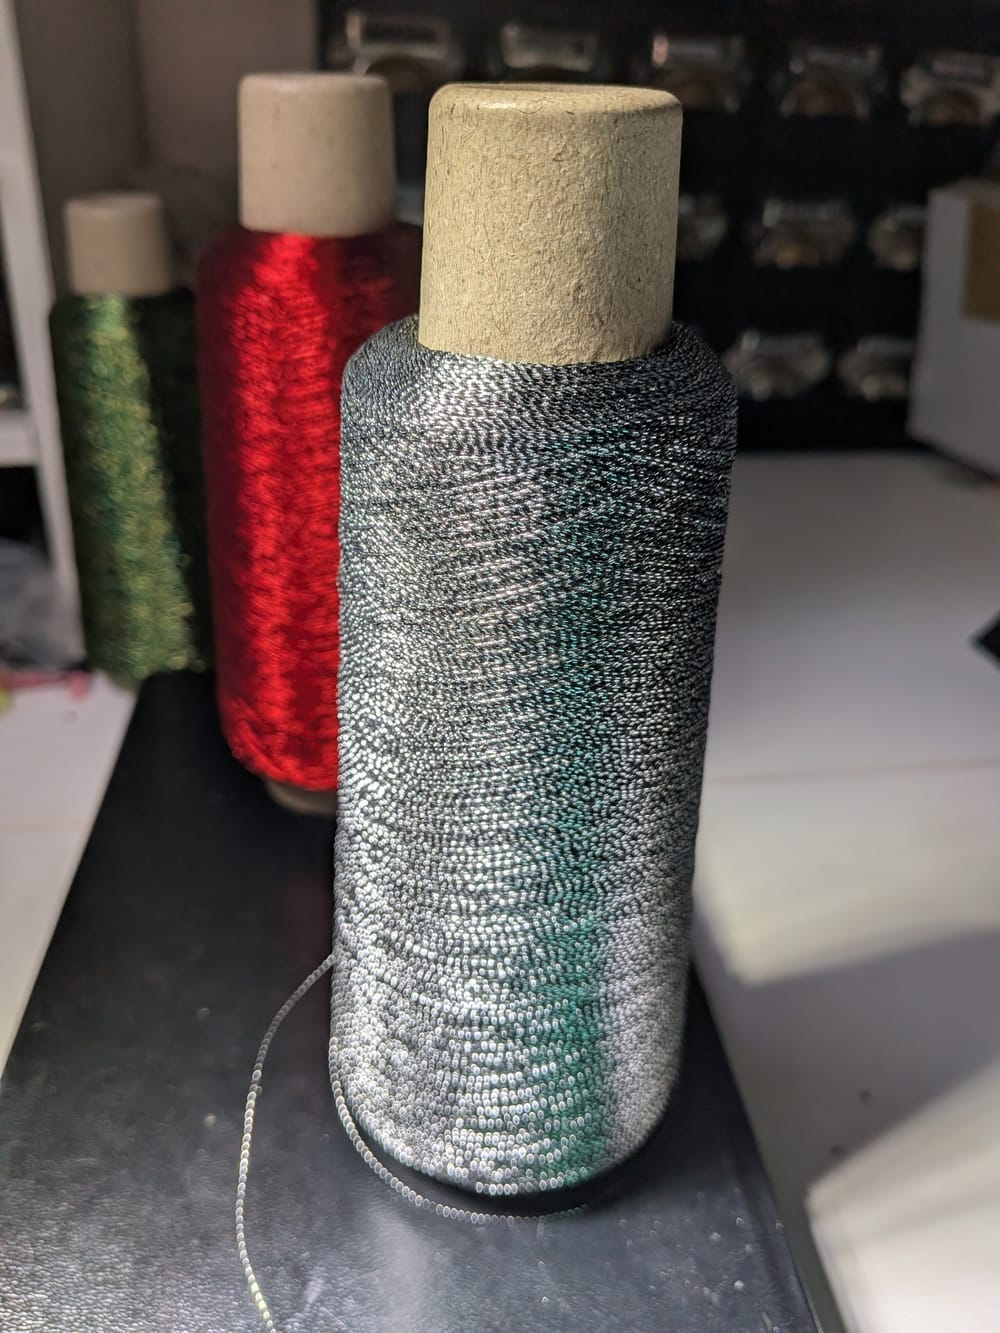
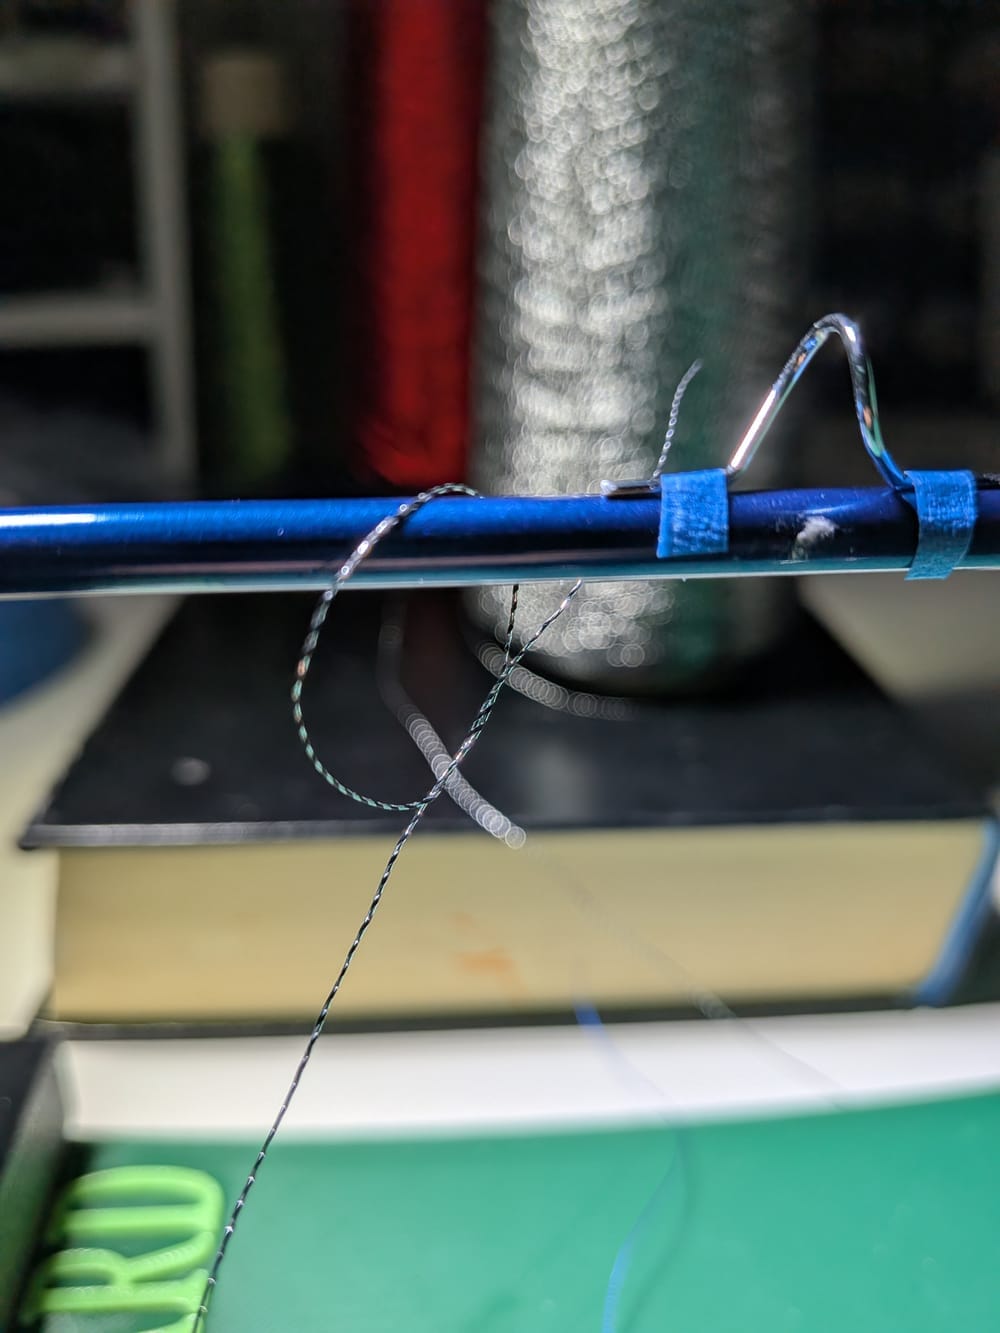
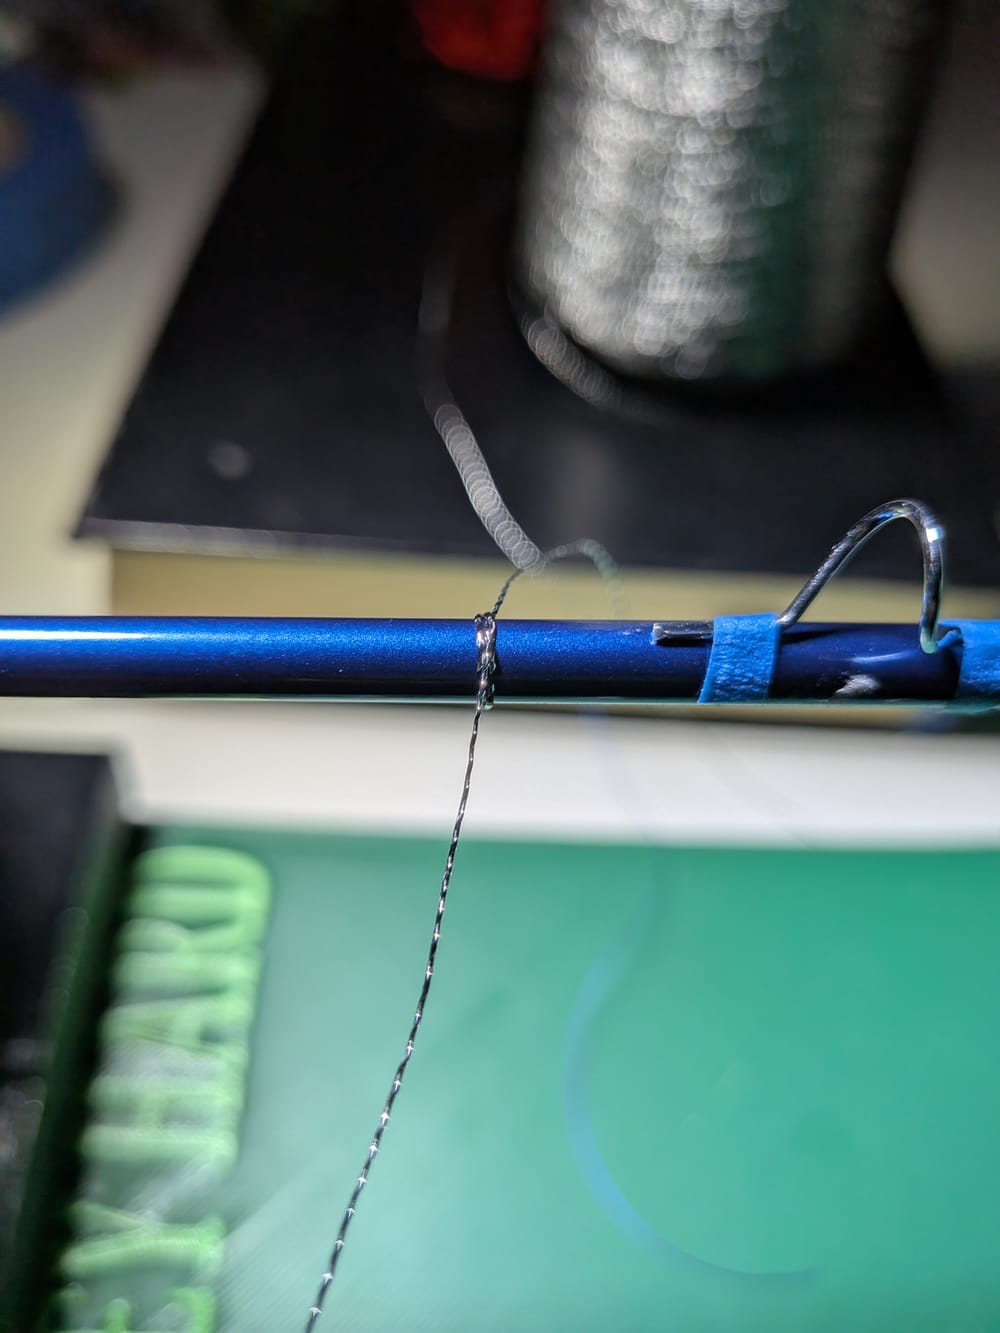
I take a fairly generous length (about 15 cm) of the decorative thread and tie 1–2 basic knots around the blank. Make two if you want slightly more visible bling. The knots stay in place more or less depending on the surface of the blank and the decorative thread used — and two knots stay in line better than one. In the example case I'm using the black-and-silver thread shown in the picture. It slides on the blank surface in every situation, but even with this one you can get these done. I pull the first knot tight against the blank and the second onto the opposite side of the blank. I try to get them into an order where the first knot is furthest out as viewed from the guide being attached, and the second closer to the guide.
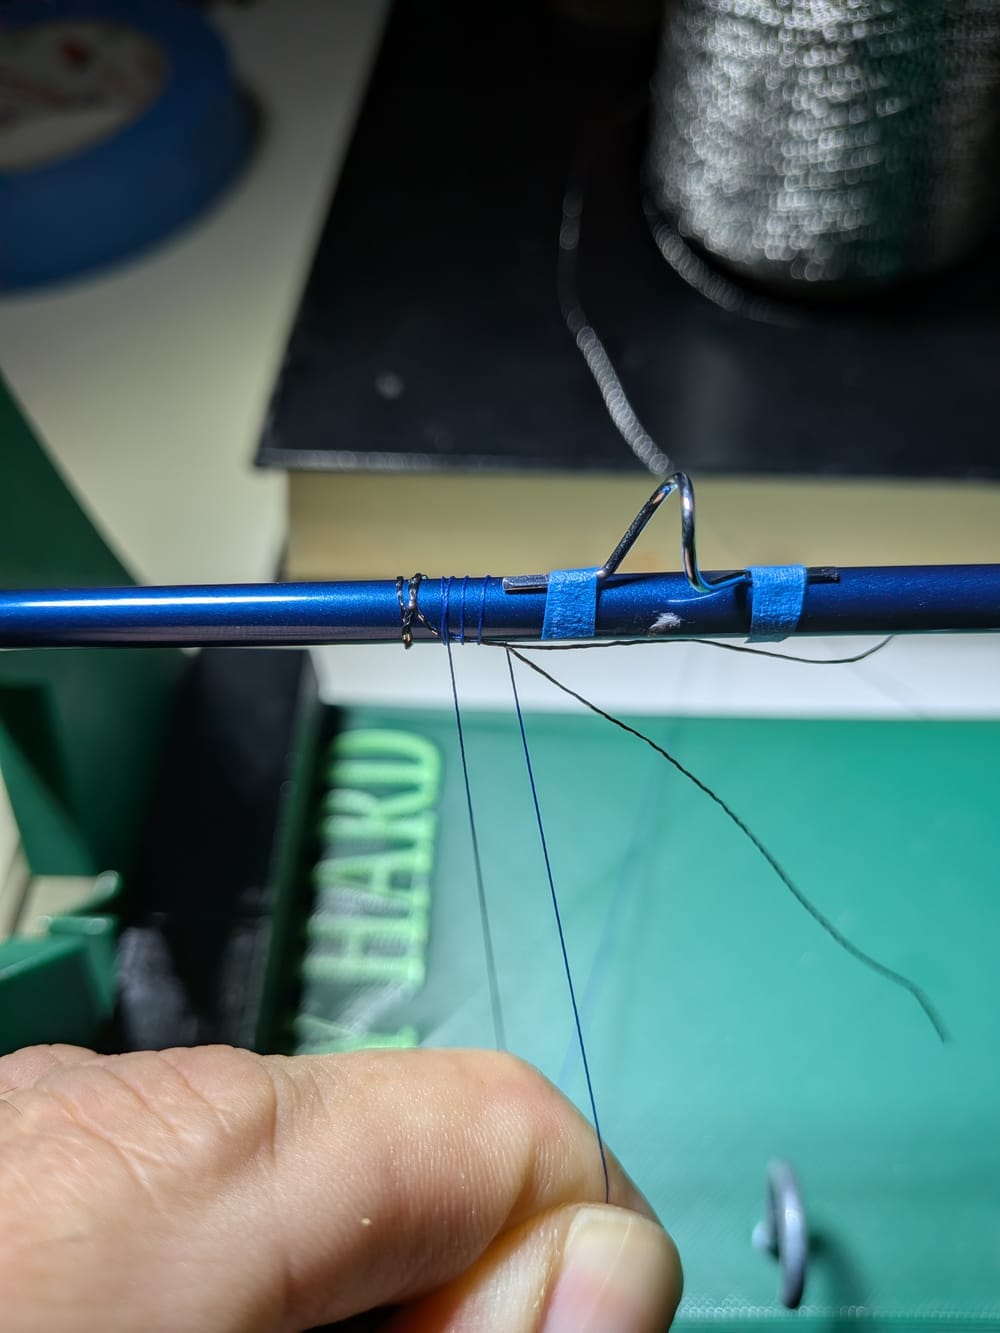
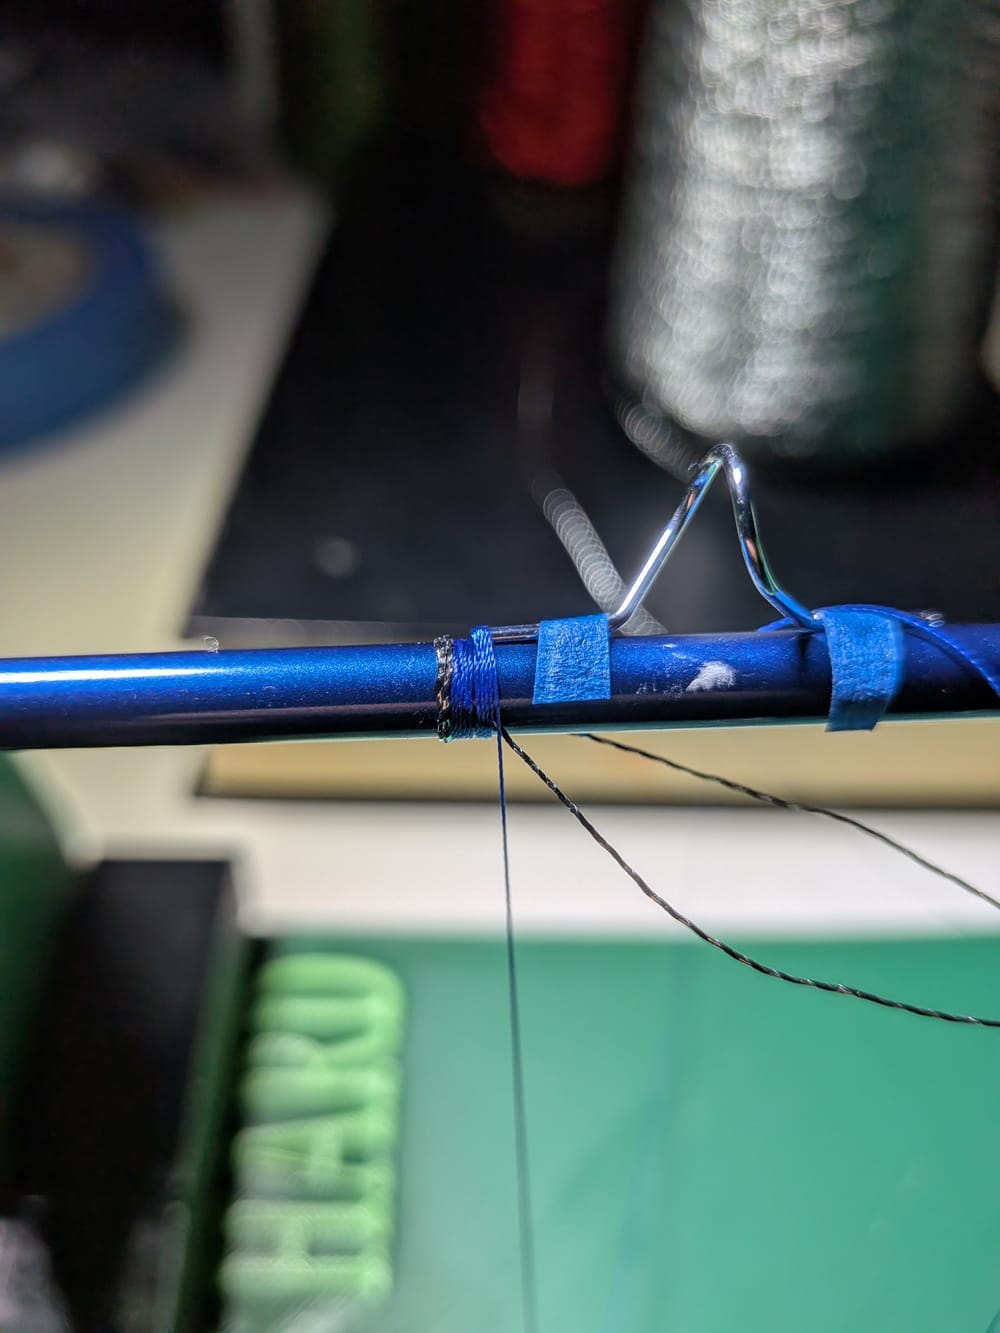
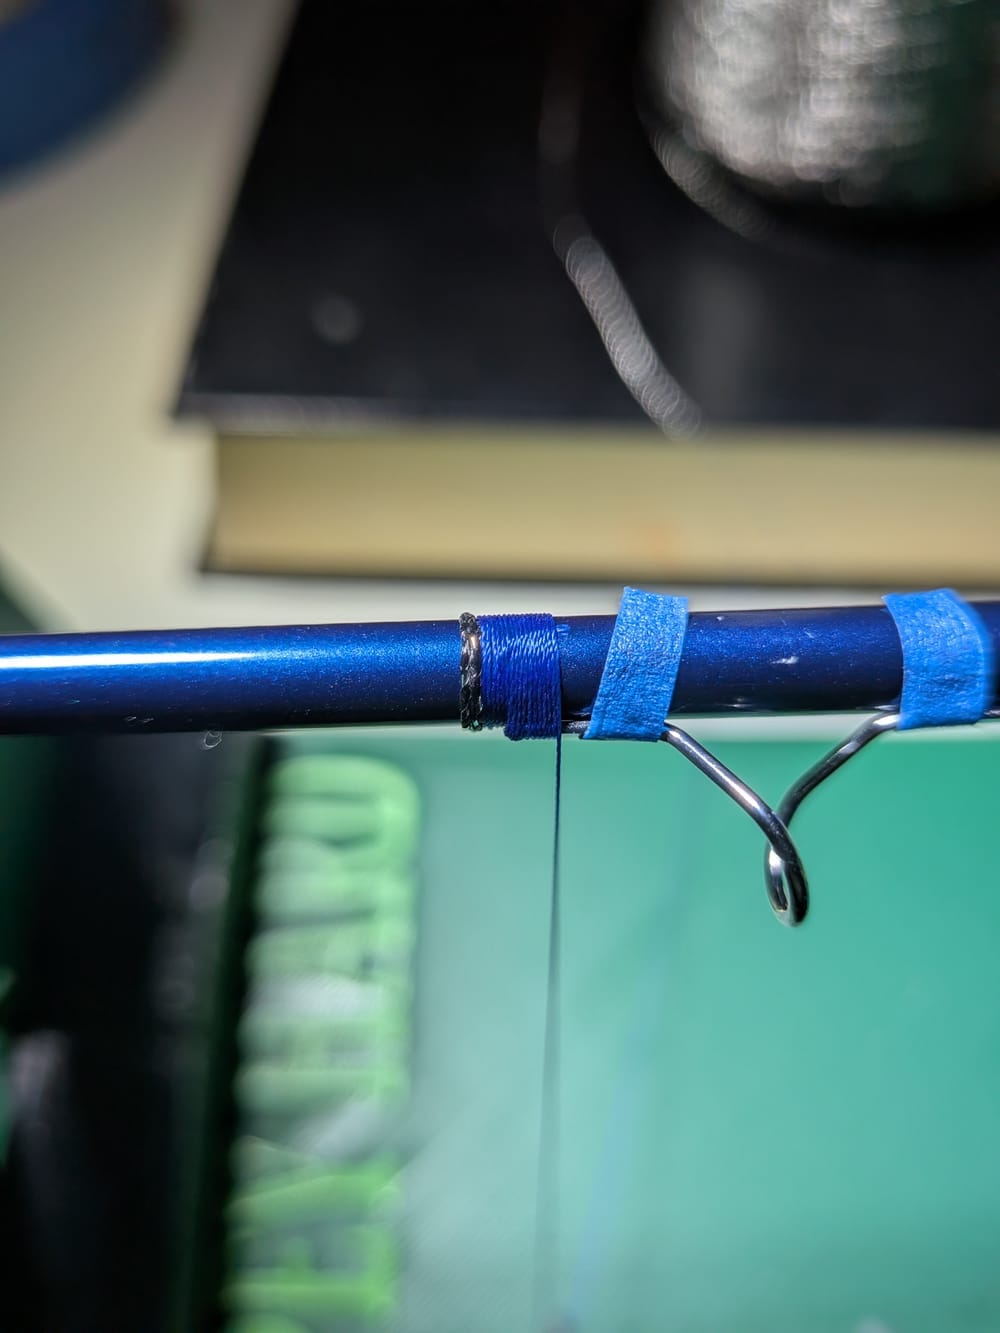
Then I start attaching the wrapping thread normally, over the dangling ends of the decorative thread. At this stage it doesn't matter even if the decorative thread knots end up a bit too far away or sit loose — they can be pulled tight against the actual wrap later on. I proceed with the wrap until I'm solidly on the foot of the rod guide and the turns are overlapping, and only then do I cut off the excess ends of the decorative thread. You can do this right after the starting turns as well, but through adversity I've started doing it this way. A decorative thread end cut too early easily starts to show between the turns of the actual wrapping thread, and you can't really get it hidden again without unwrapping the whole thing. Not everyone makes the same mistakes I do, so it's worth just experimenting with what works best for you.
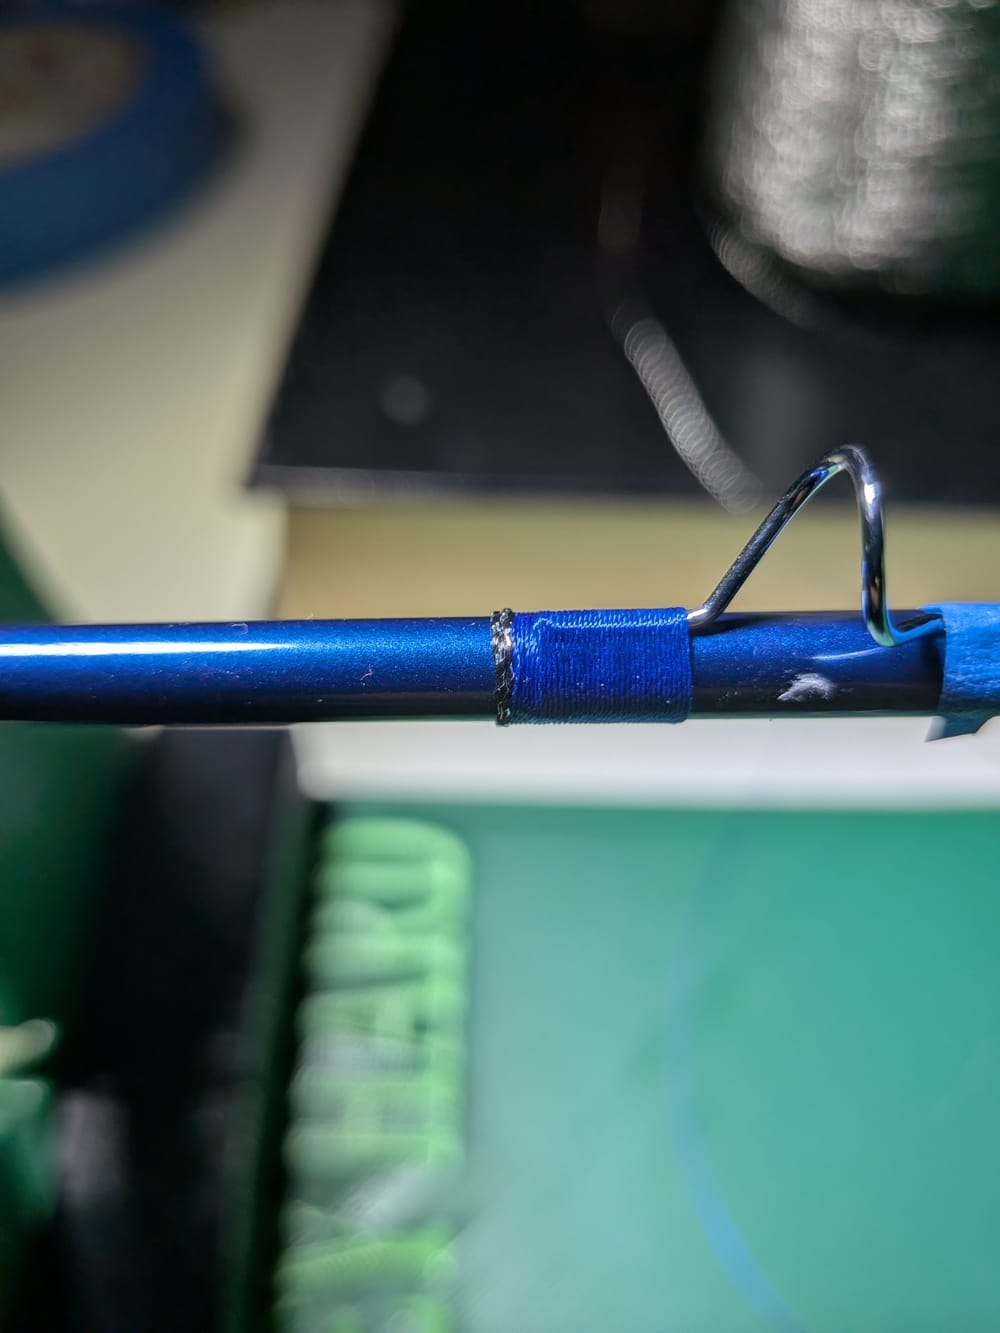
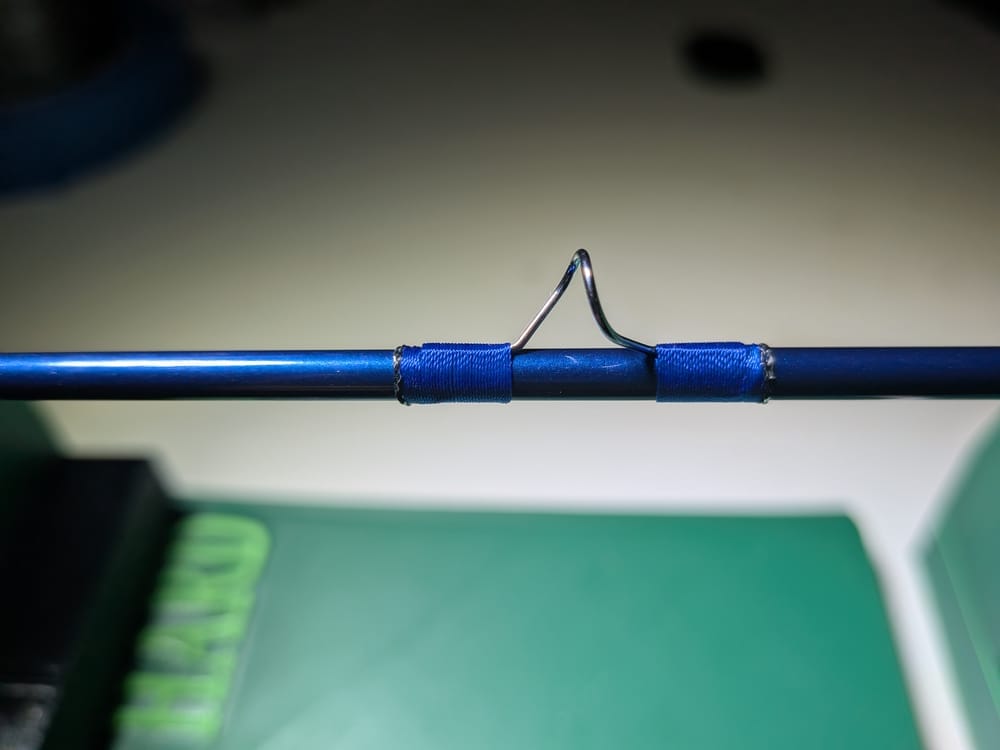
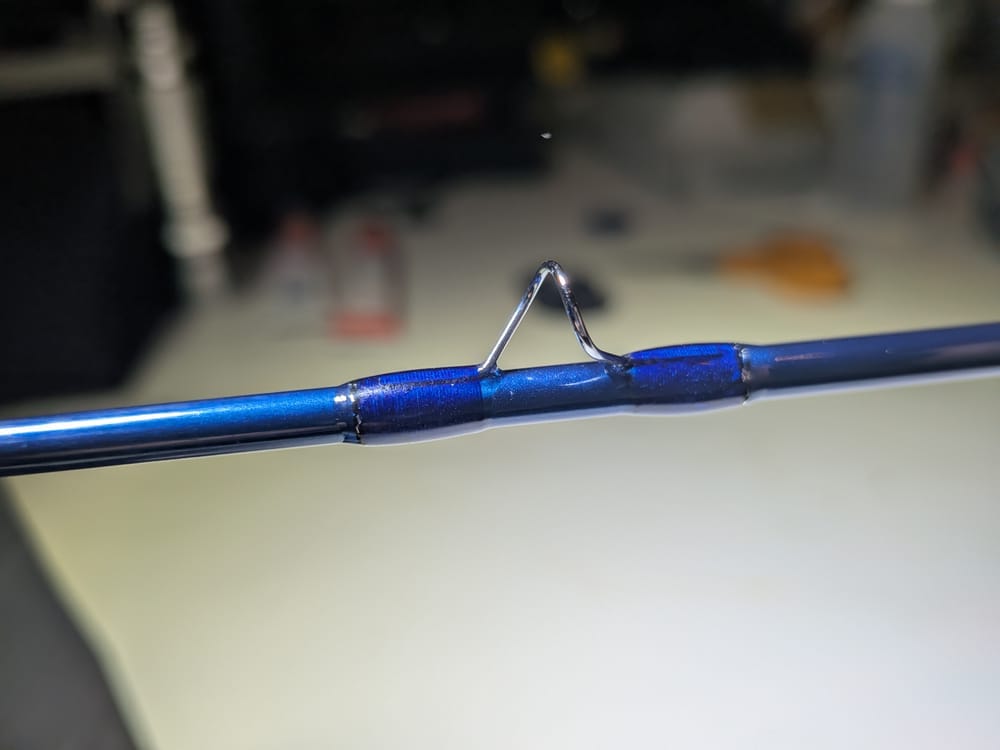
And the last pictures. The varnished version isn't very descriptive, since the light reflects awkwardly from every angle. Even so, it comes out quite neat when done this way.