Fly Rod 6wt 9ft — Wrapping and Finishing

When it comes to wrapping, I'm no expert. At this point I've got close to 30 rods under my belt, and they've all worked more or less. If the cast doesn't flow, I blame the blank. Guides haven't come loose yet though, so I must be doing something right. Again, YouTube is absolutely packed with wrapping and finishing videos — watch those and then just try to follow along. I'll walk through a few things I consider important with the help of photos, and I'll also focus on mistakes I happened to make while wrapping this one.
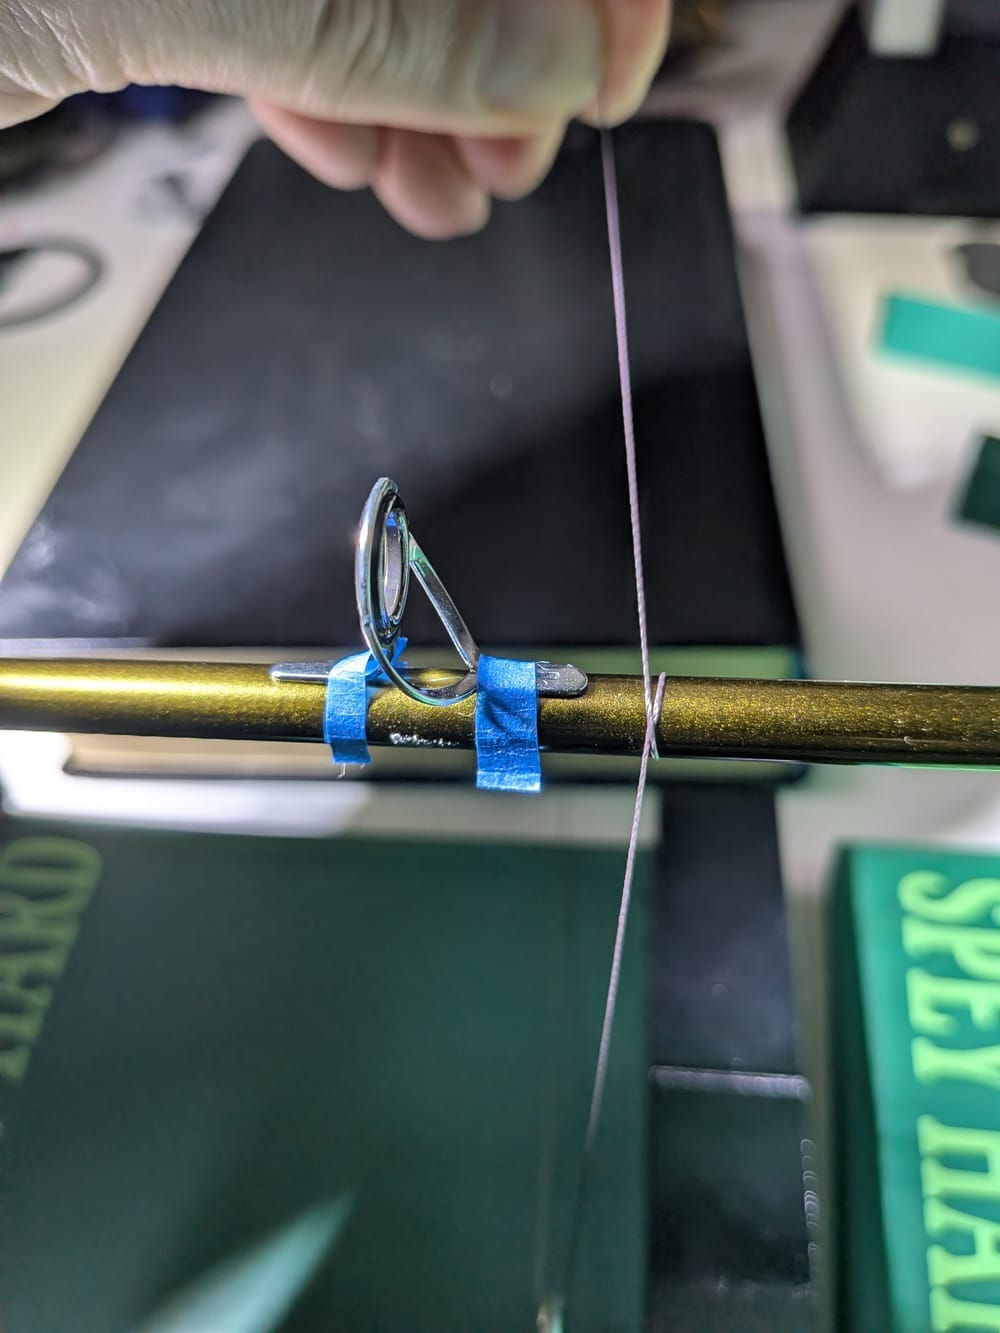
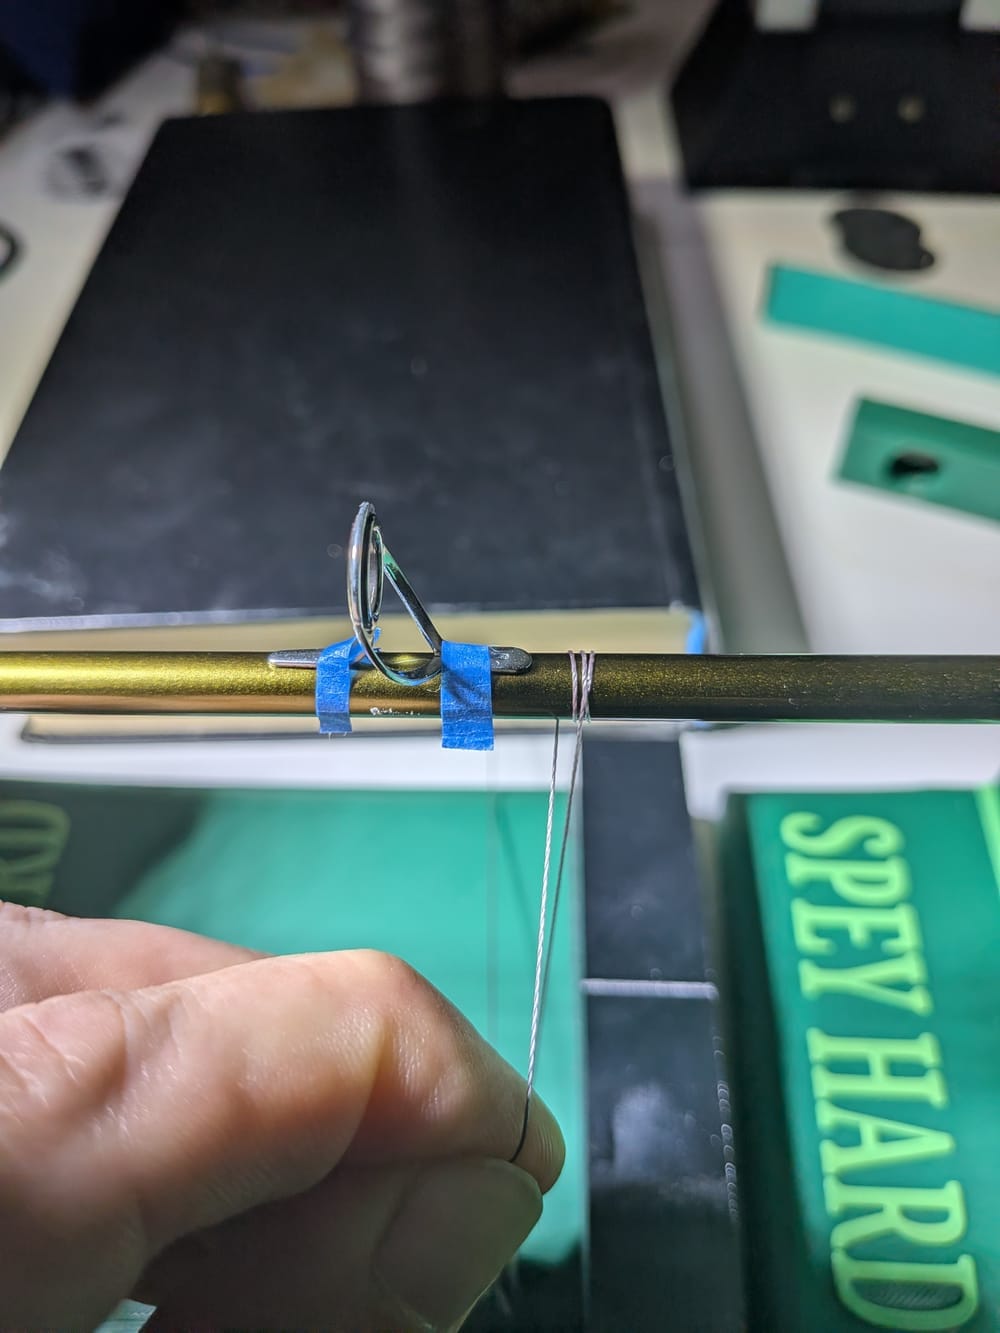
In the photos above I'm trying to show how to start a wrap. First make that single cross-over and continue toward the guide. In the example photo, a couple of turns of the thread tail have been hand-rolled around the blank. The thread needs to stay taut, otherwise it starts sliding around. Once you have roughly 3-4 turns, press the thread turns against the blank with your finger and start rolling the blank so the thread goes a few turns over the base thread. You need to roll enough that the wrap stays in place without touching it. This is where you quickly see if the thread isn't tight enough — the wrap loosens and unravels.
A word about that book-weight setup visible in the background. The other end of the thread comes from a spool behind the book, spinning freely there. The thread runs through the book and the C-ring of the wrapping jig — so the tension on the blank is directed downward. I like using a reasonably thick book because it's easy to adjust the right resistance for the thread. The resistance shouldn't be too loose, but not too tight either. Just move the thread lower or add weight on top of the book, and oh boy does it start squeezing.
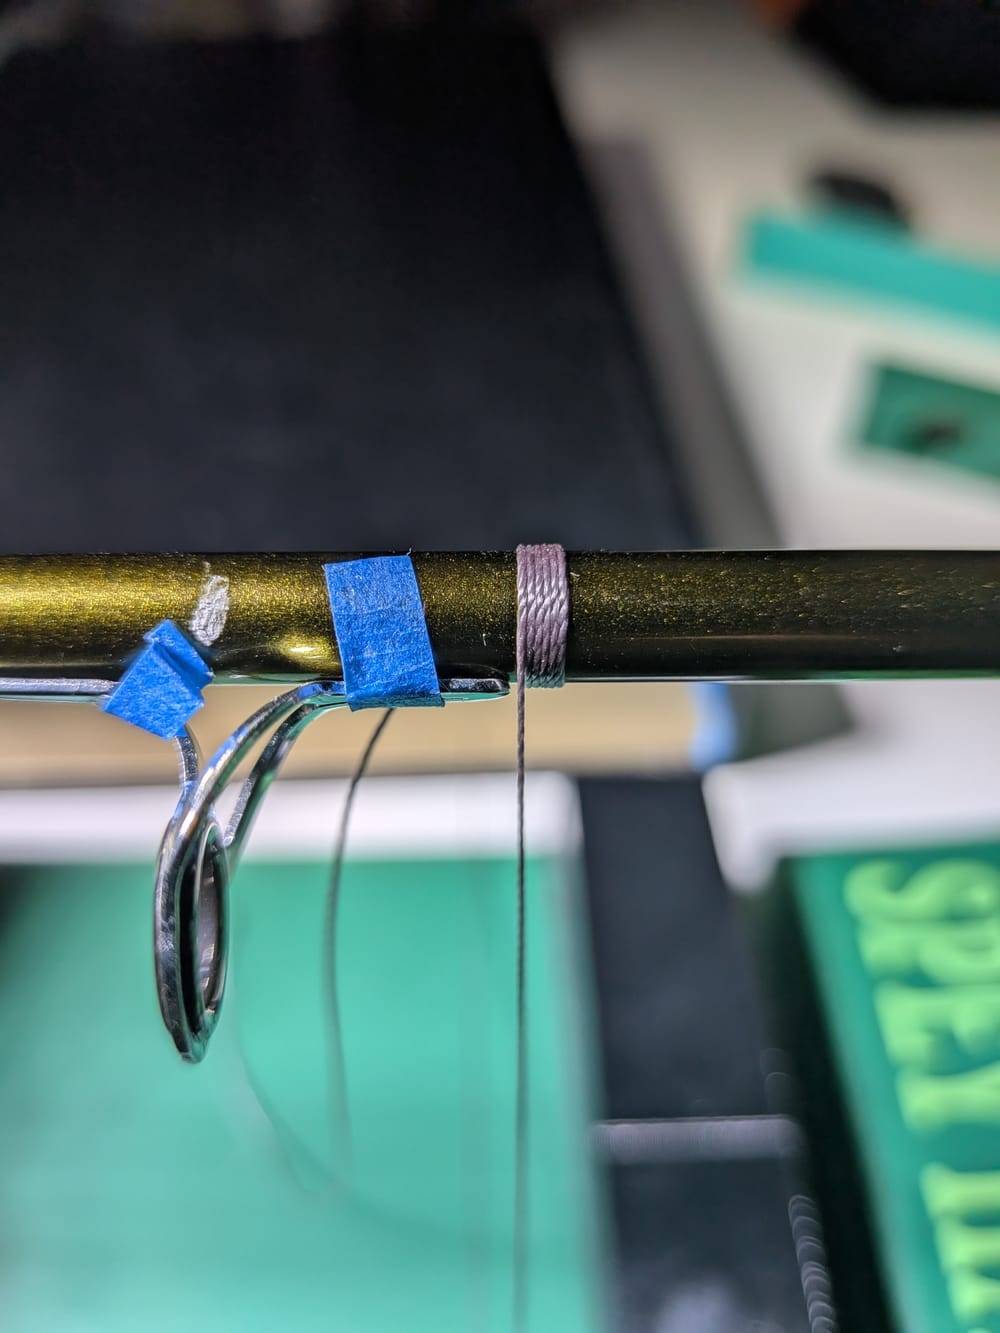
There the thread has been locked and the turns laid side by side. You can smooth them out with a fingernail or some flat-edged plastic pick. I don't count turns to place before/after the guide — something like 3+ is enough. The thread tail is still hanging in the background; you can cut it off at this point or leave it dangling just in case. This one has a fairly thick guide foot, so that "bump" is a challenge for me at least. If it needs adjusting, the dangling thread is handy because you can use it to pull the pack tighter. I've heard that carefully sanding the guide foot helps the thread stay in place, but I haven't gone down that road yet.
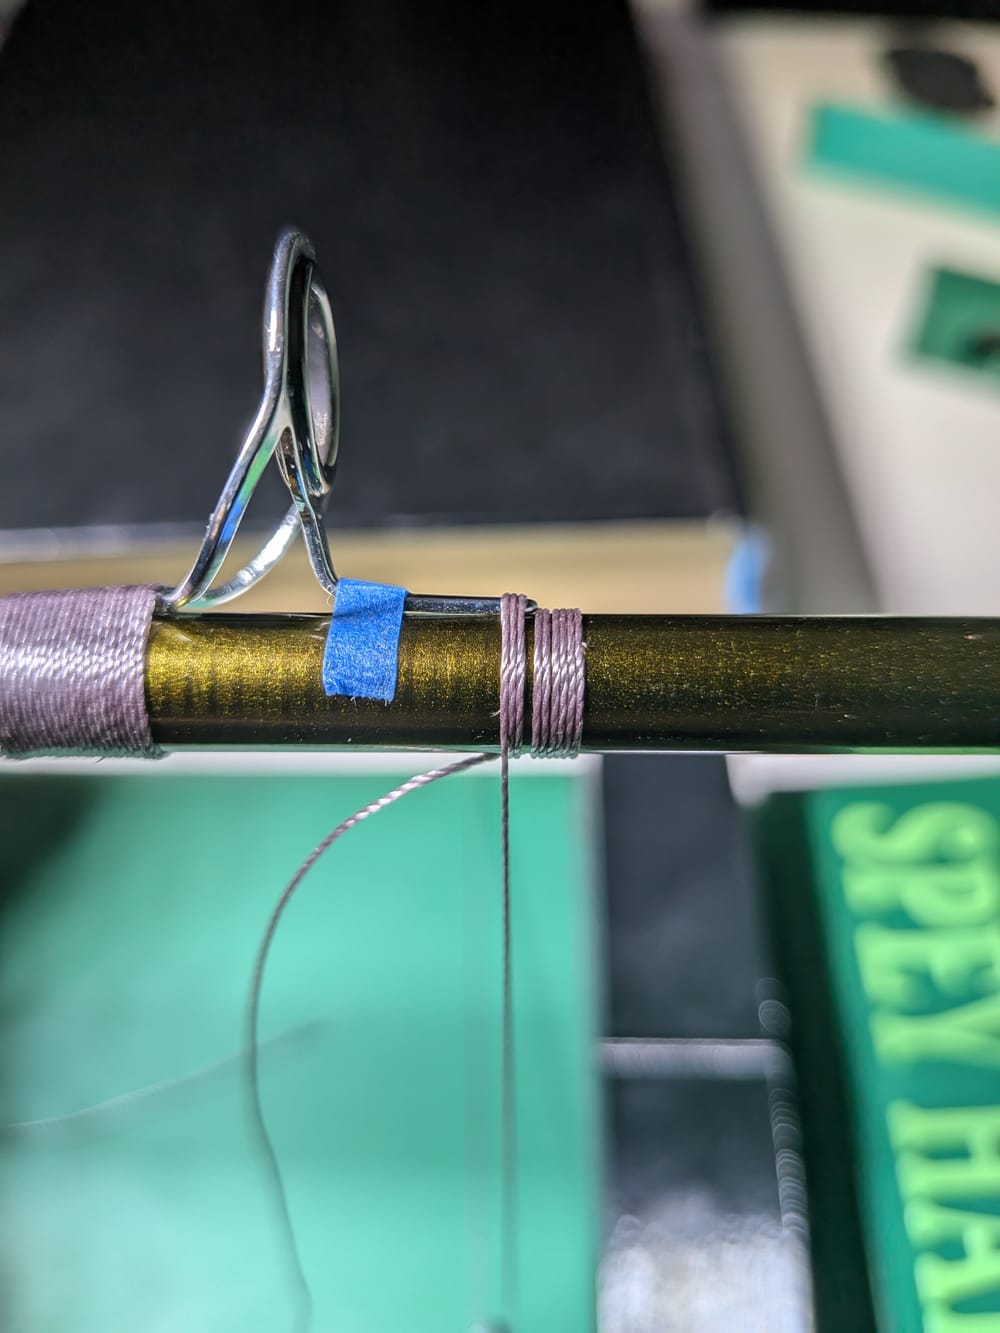
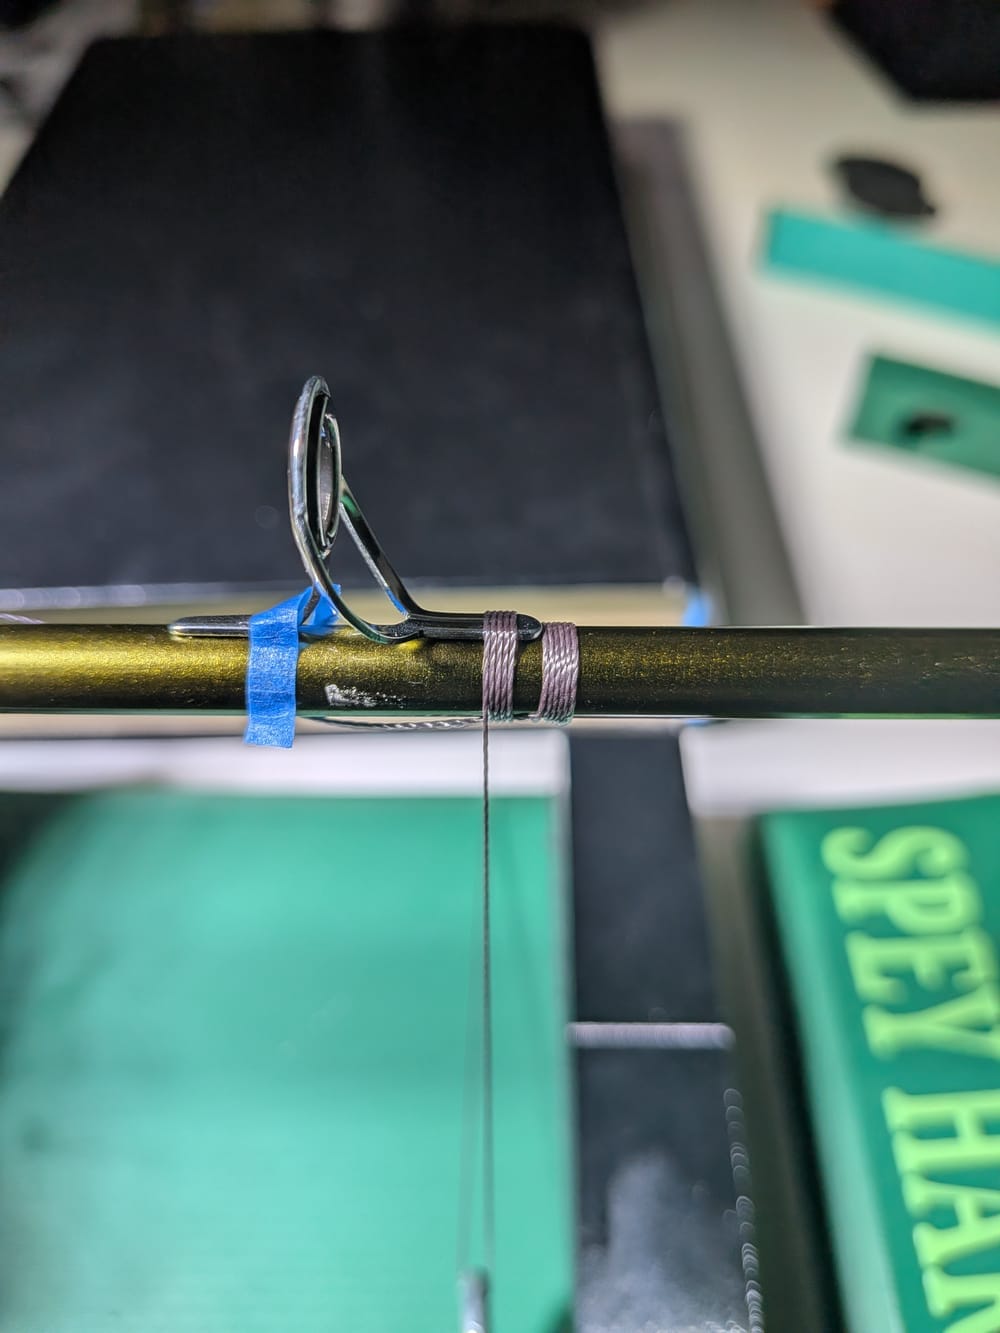
With larger guides I make that jump straight to the flat section and roll a few turns. Then I try to carefully nudge the thread turns together going "downhill." With lower guide feet you only need to "jump" a little or not at all.
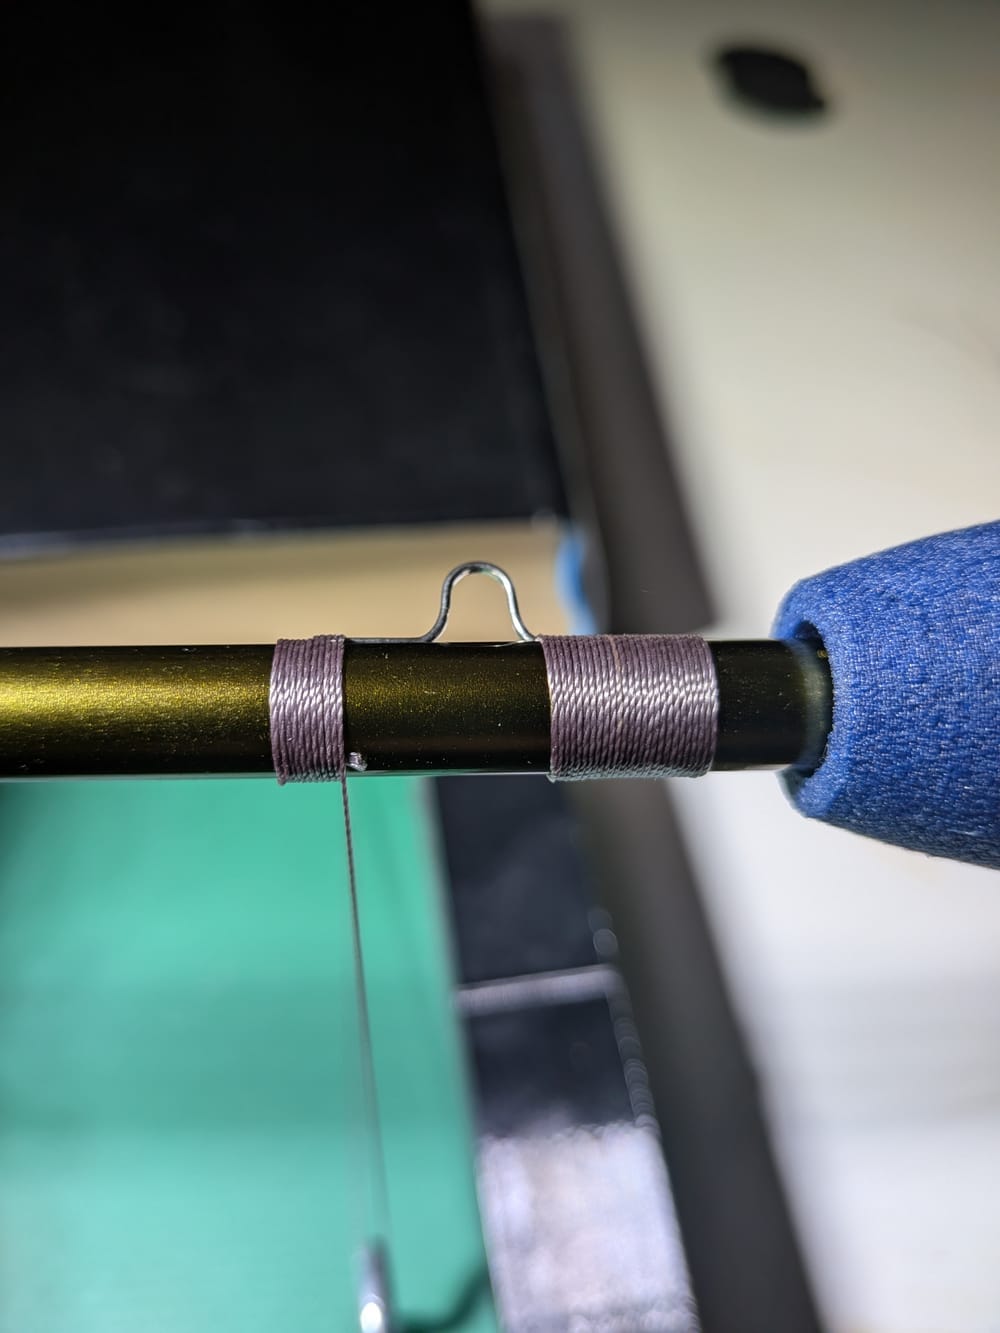
When cutting the thread tail, do it cleanly — use the sharpest scissors you have or a razor blade. That cut in the photo is not clean.
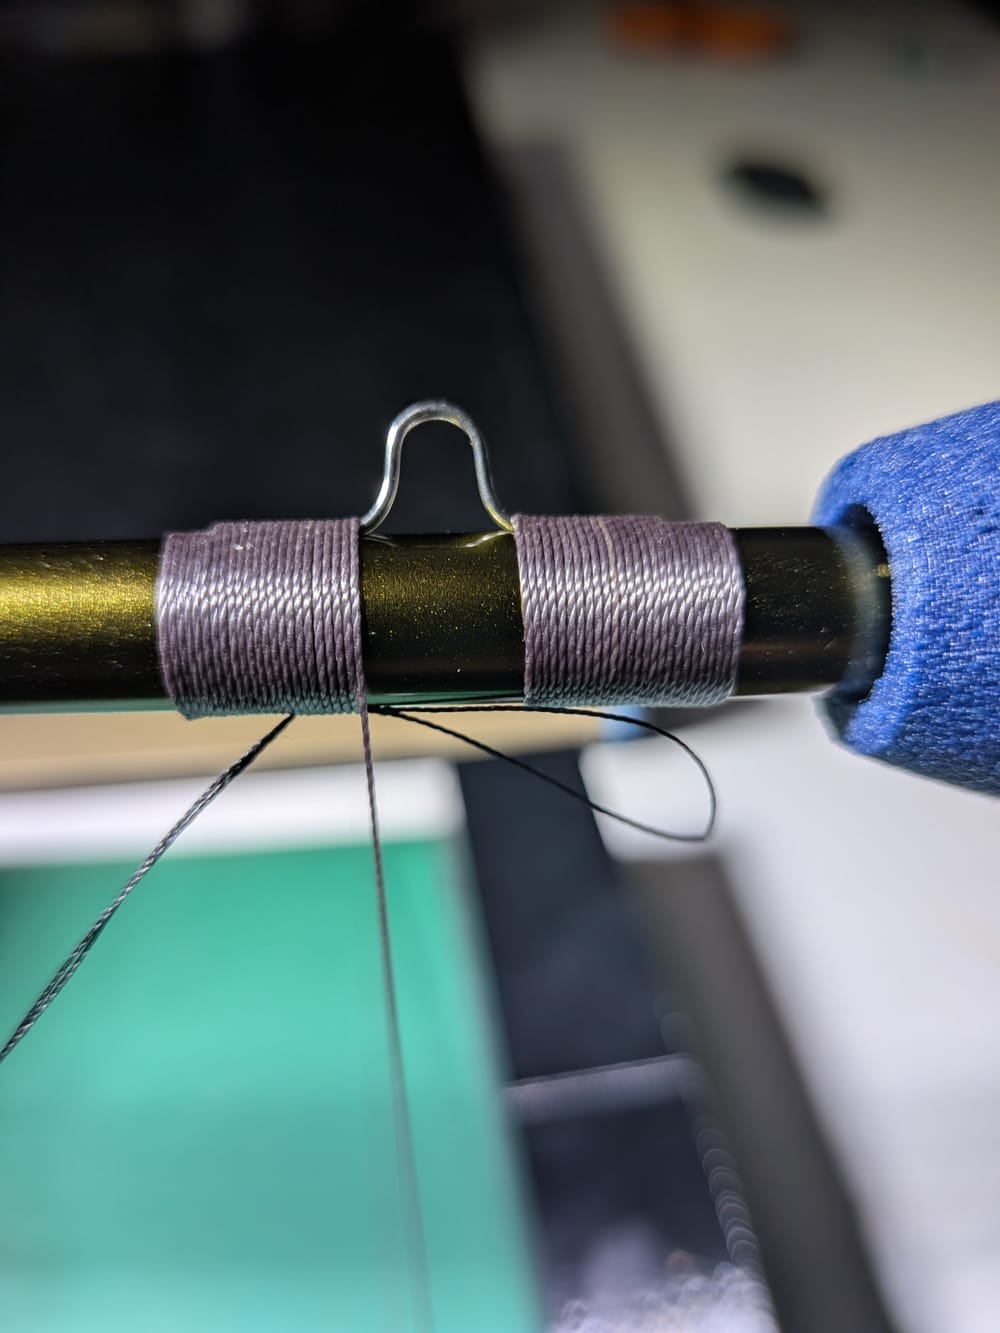
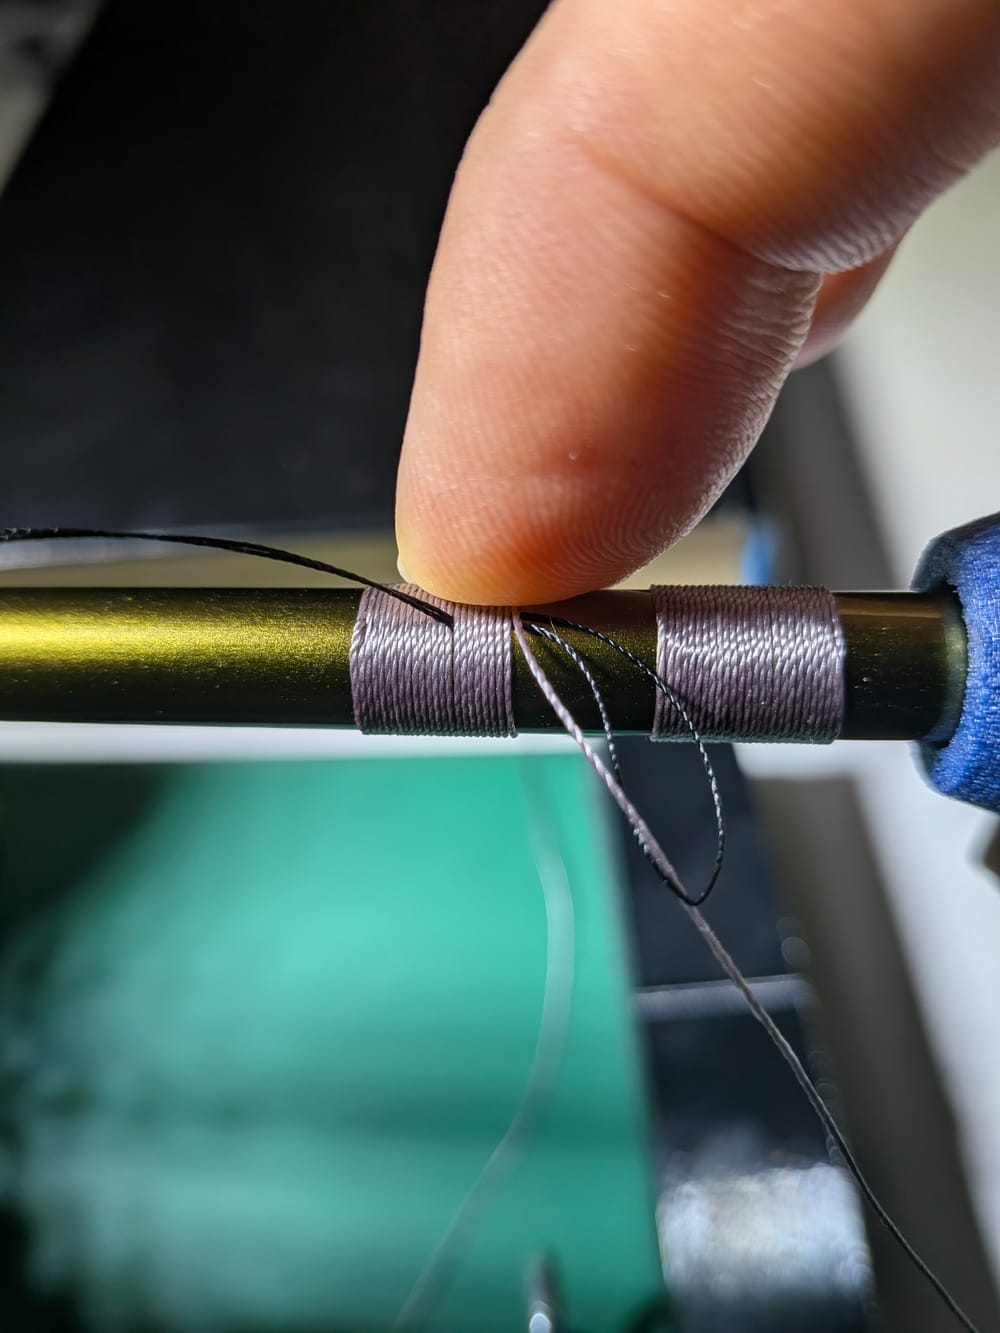
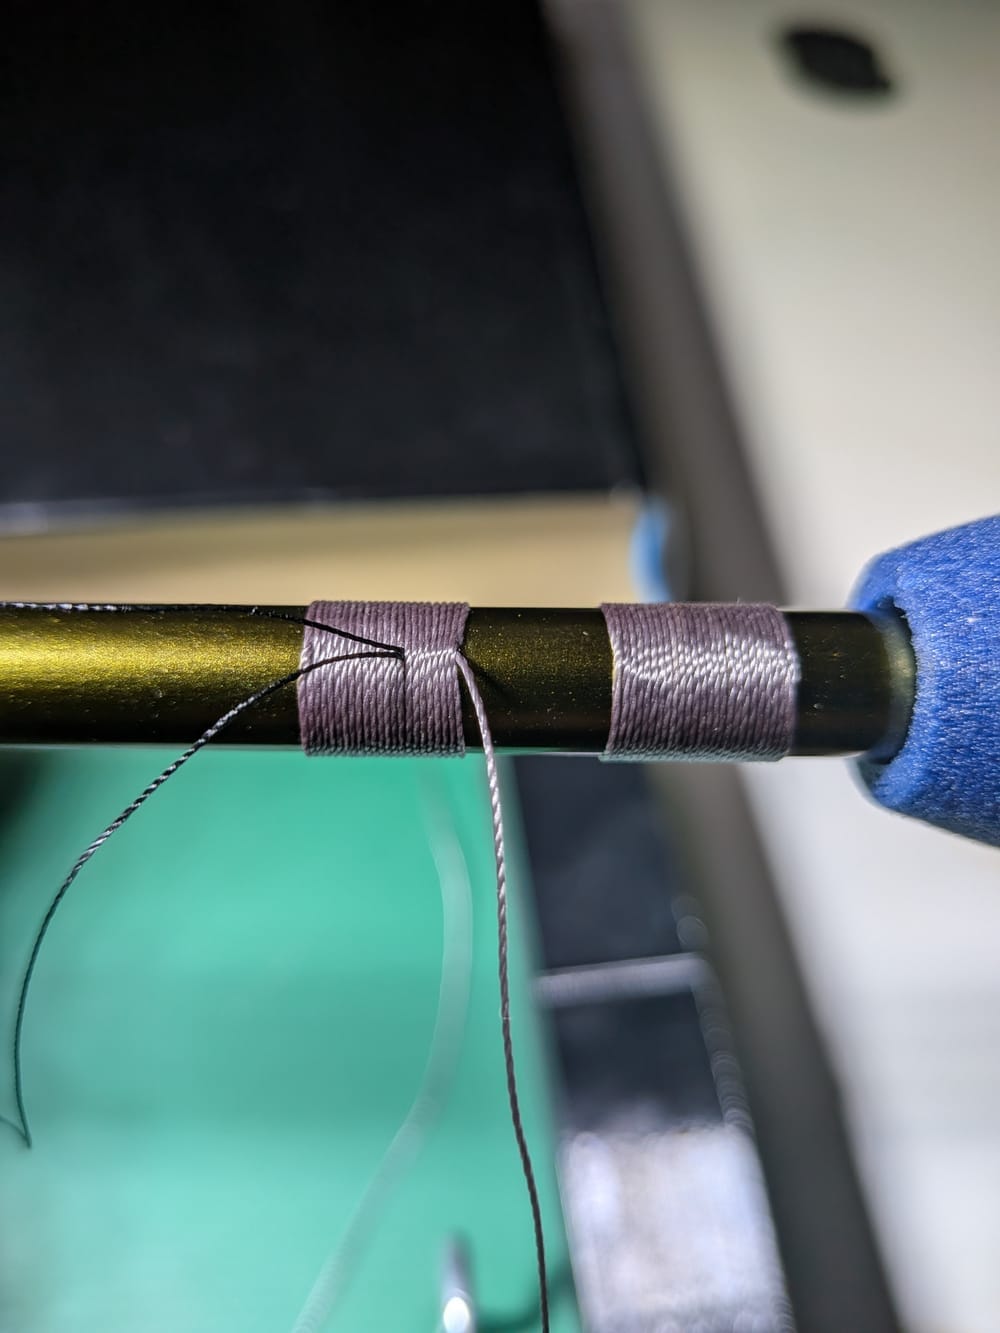
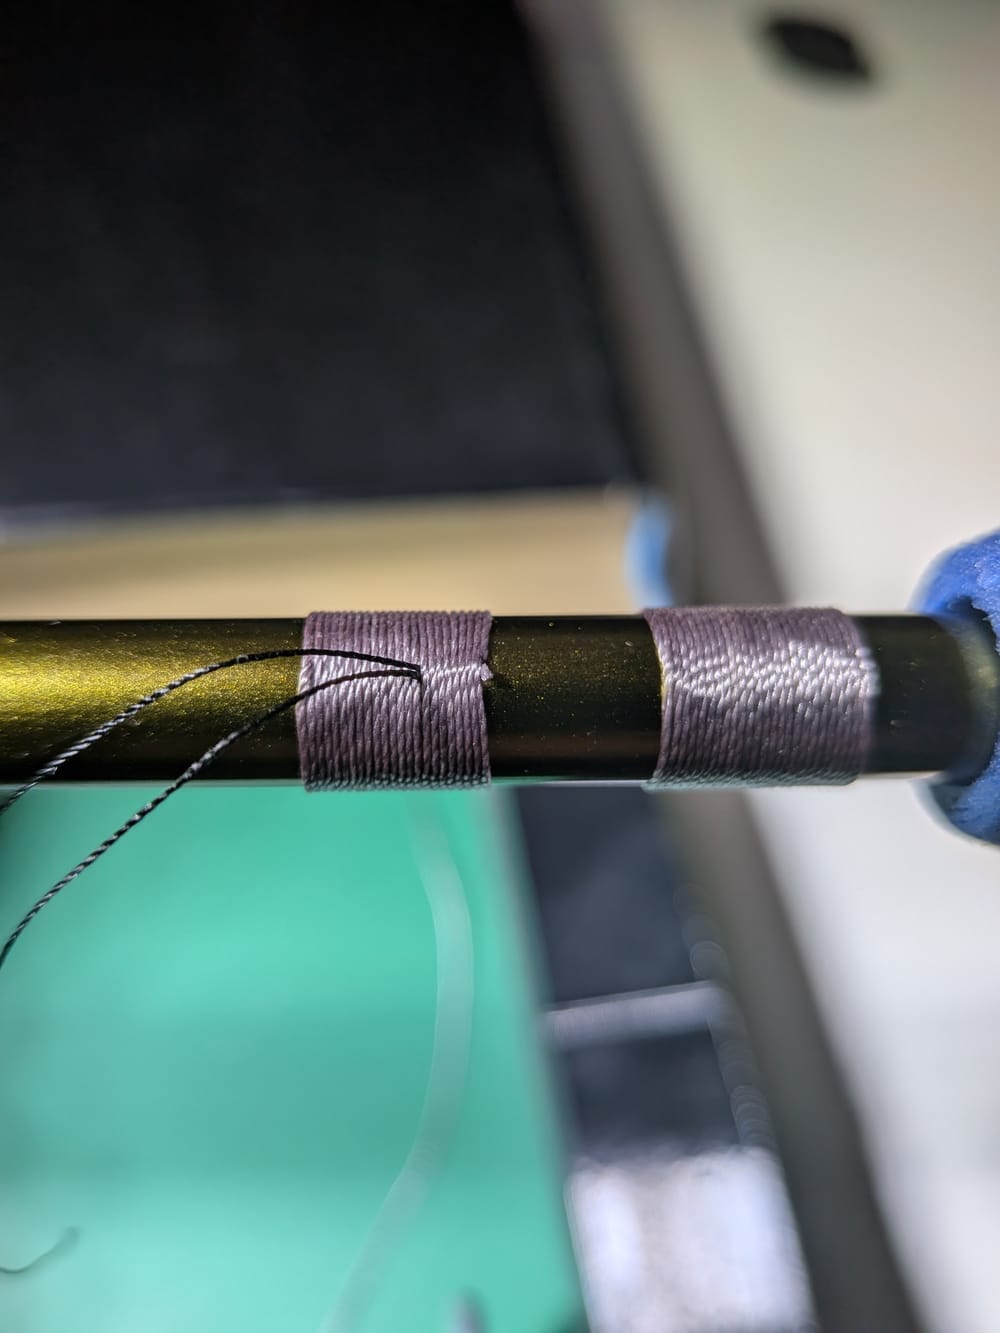
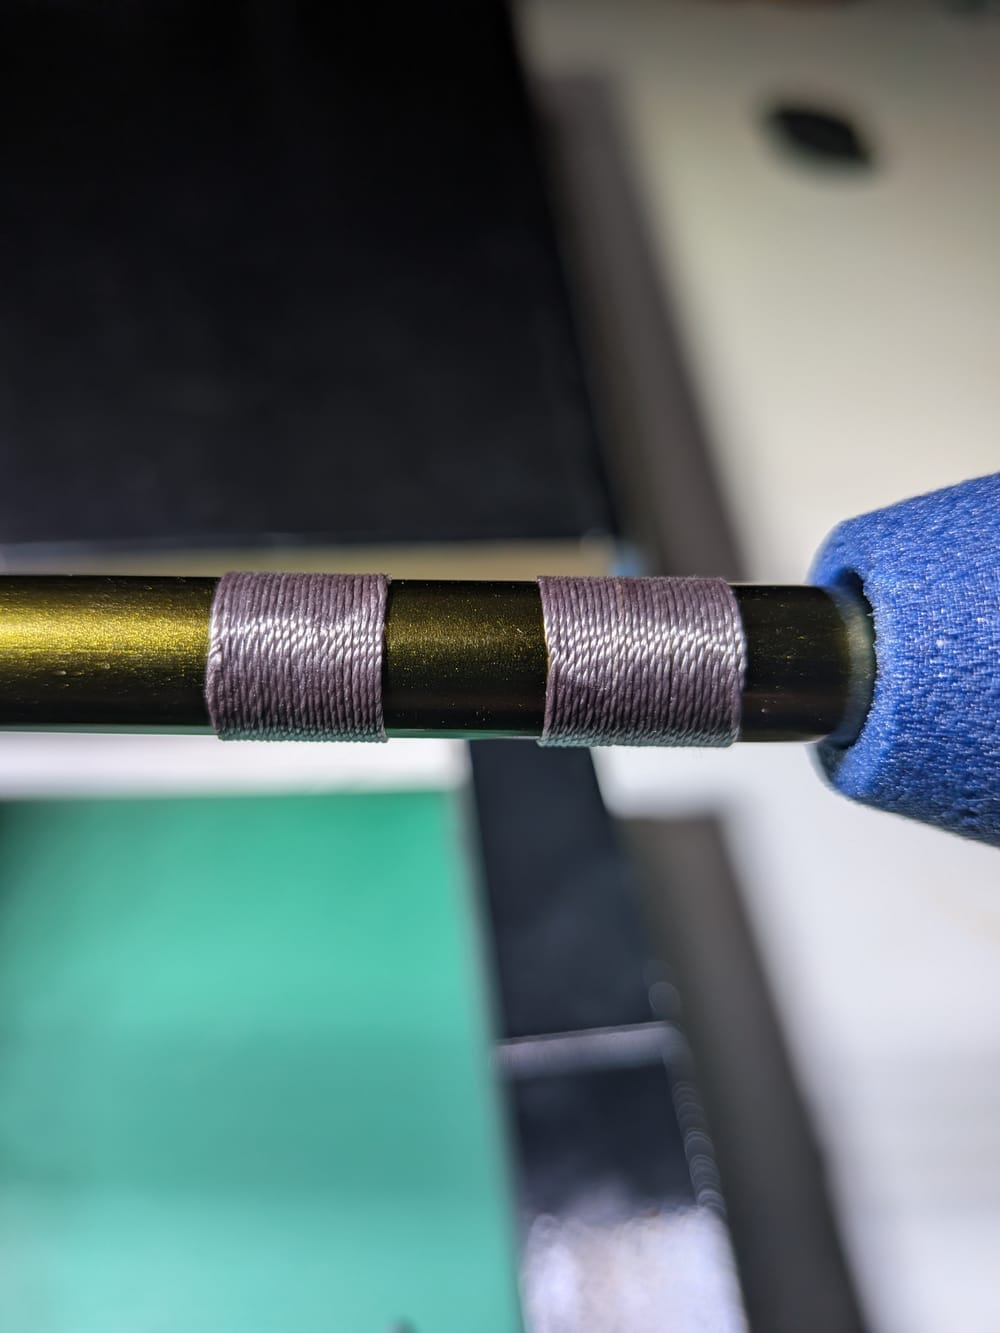
When finishing off the wrap, take a separate piece of thread (10-15cm) and loop it under the wrap. Leave plenty of thread tails hanging — it's easier to pull the loop through from under the wraps later. I might add this earlier than necessary, but I've found it easier when there's plenty of room. The cut thread end gets tucked neatly under the turns this way. Worked here — only needed a little smoothing. If you do these finishing steps as well as possible, you won't be wrestling with floppy thread ends during finishing. Even a tiny wisp of thread between the turns shows up after epoxy.
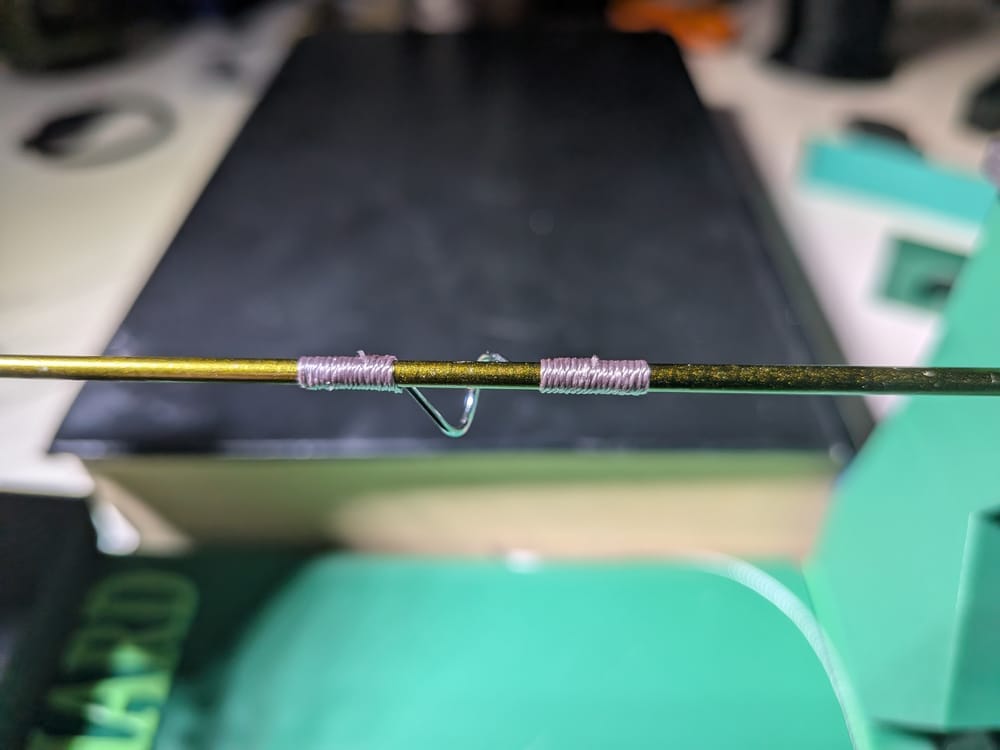
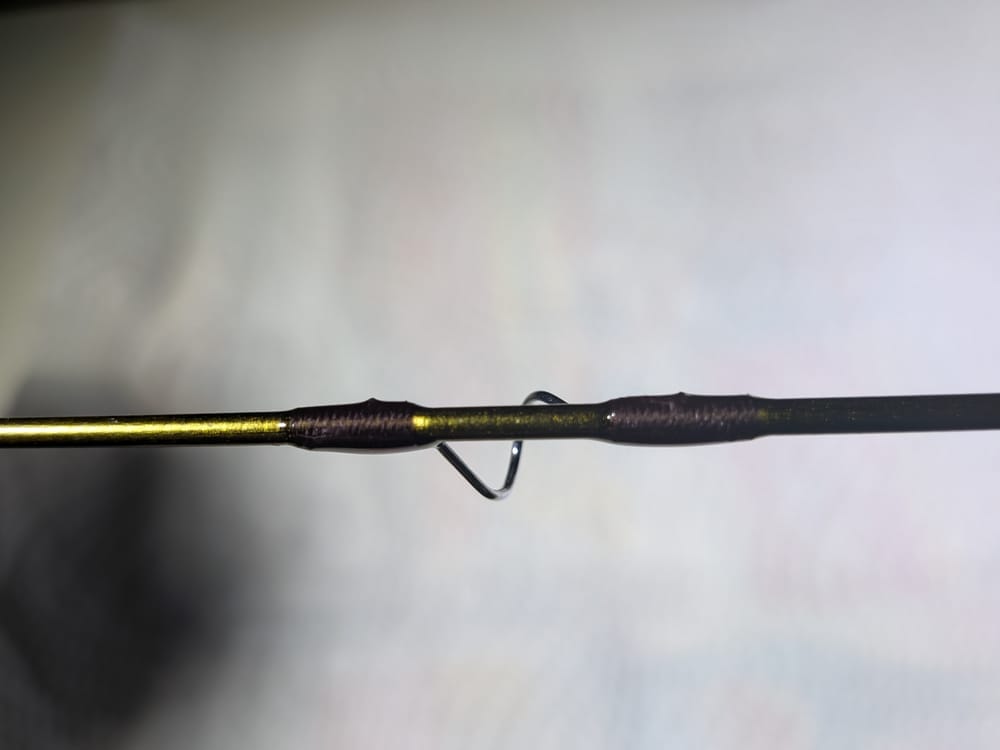
In the example wrap, fuzz was left visible and the result after the first epoxy coat. Chinese color-preserve thread isn't exactly top quality. In natural light it looks brownish with a wine-red tint.
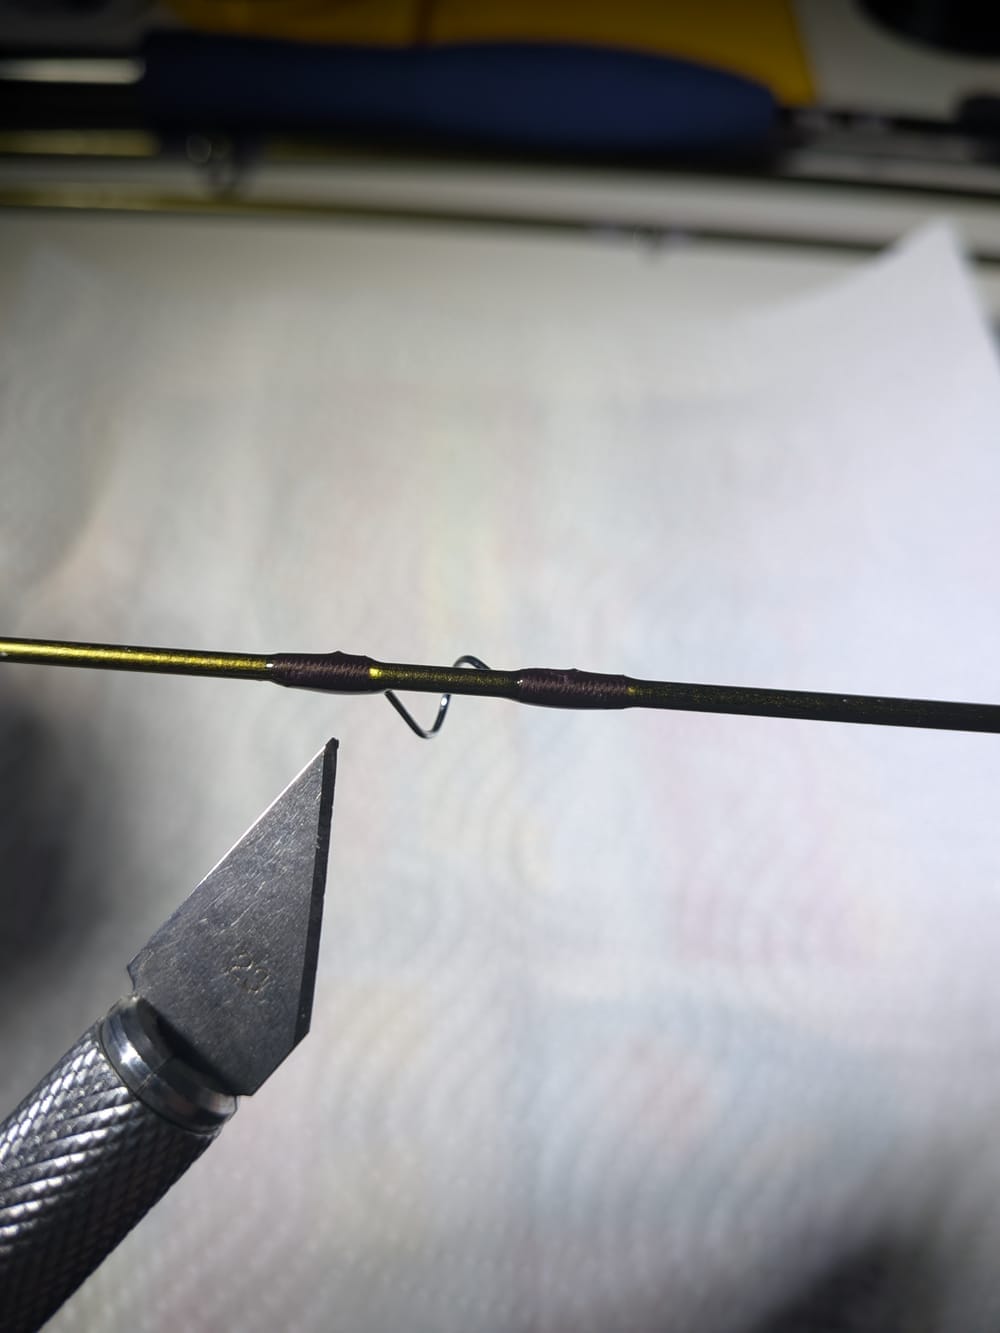
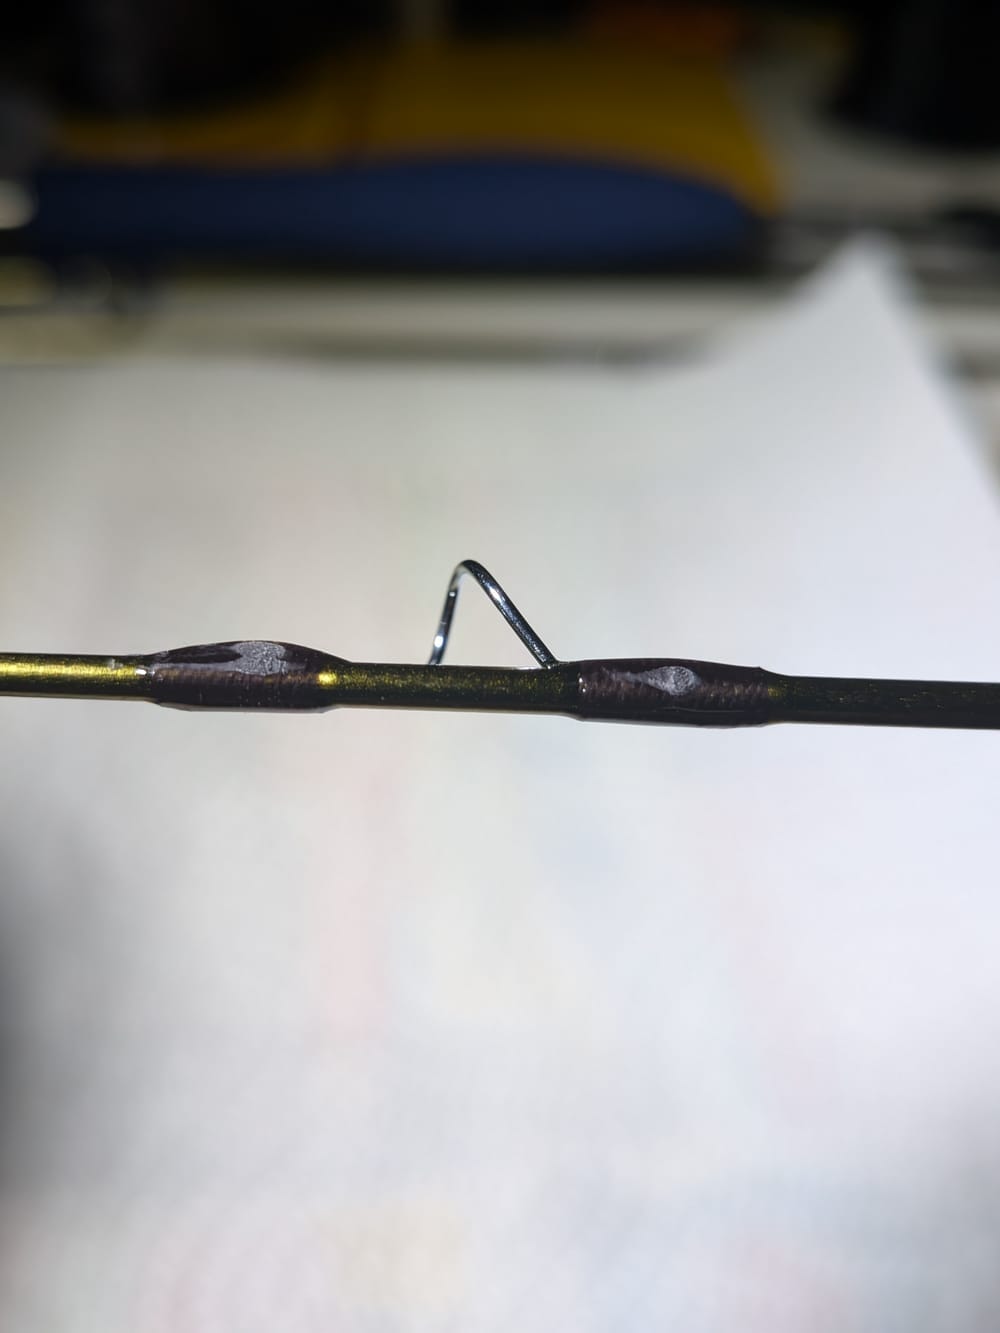
Some people would just calmly add enough epoxy coats until the surface is smooth. If you don't want thick epoxy layers though, peel off the extra bumps and with the next coat the result is good. If you do this, be careful not to cut through the actual wrap while peeling.
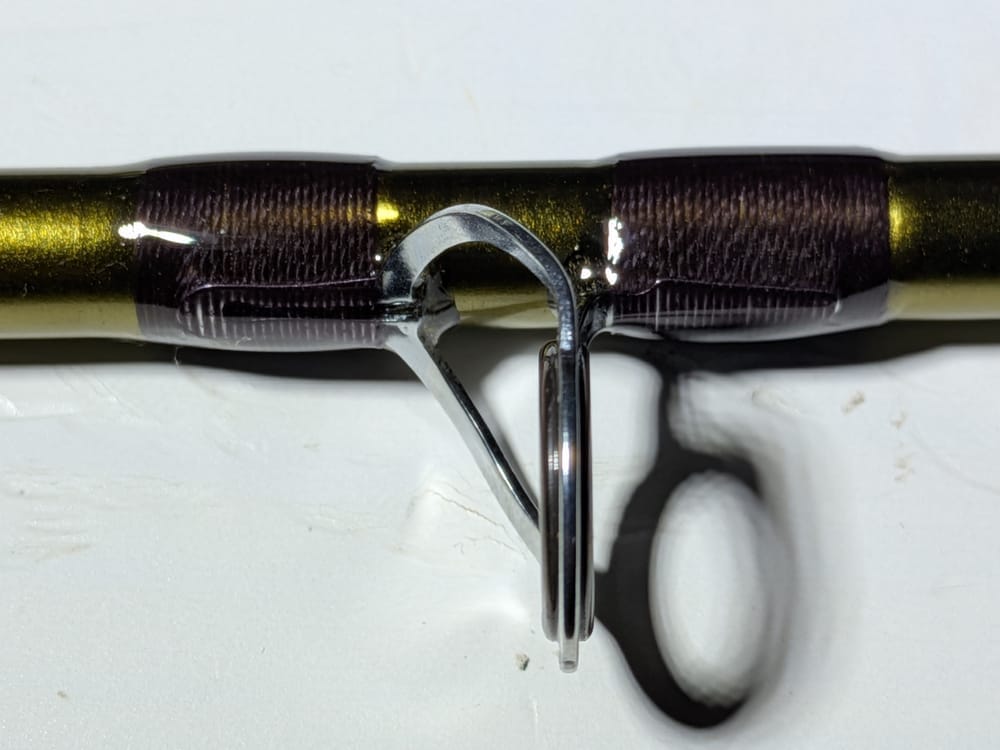
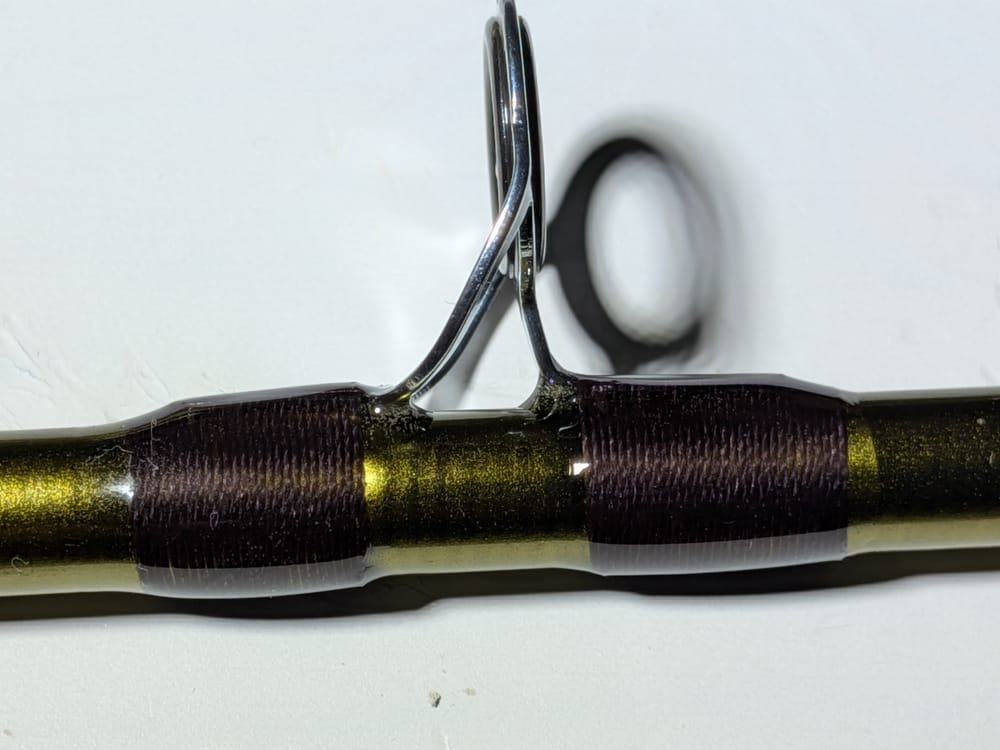
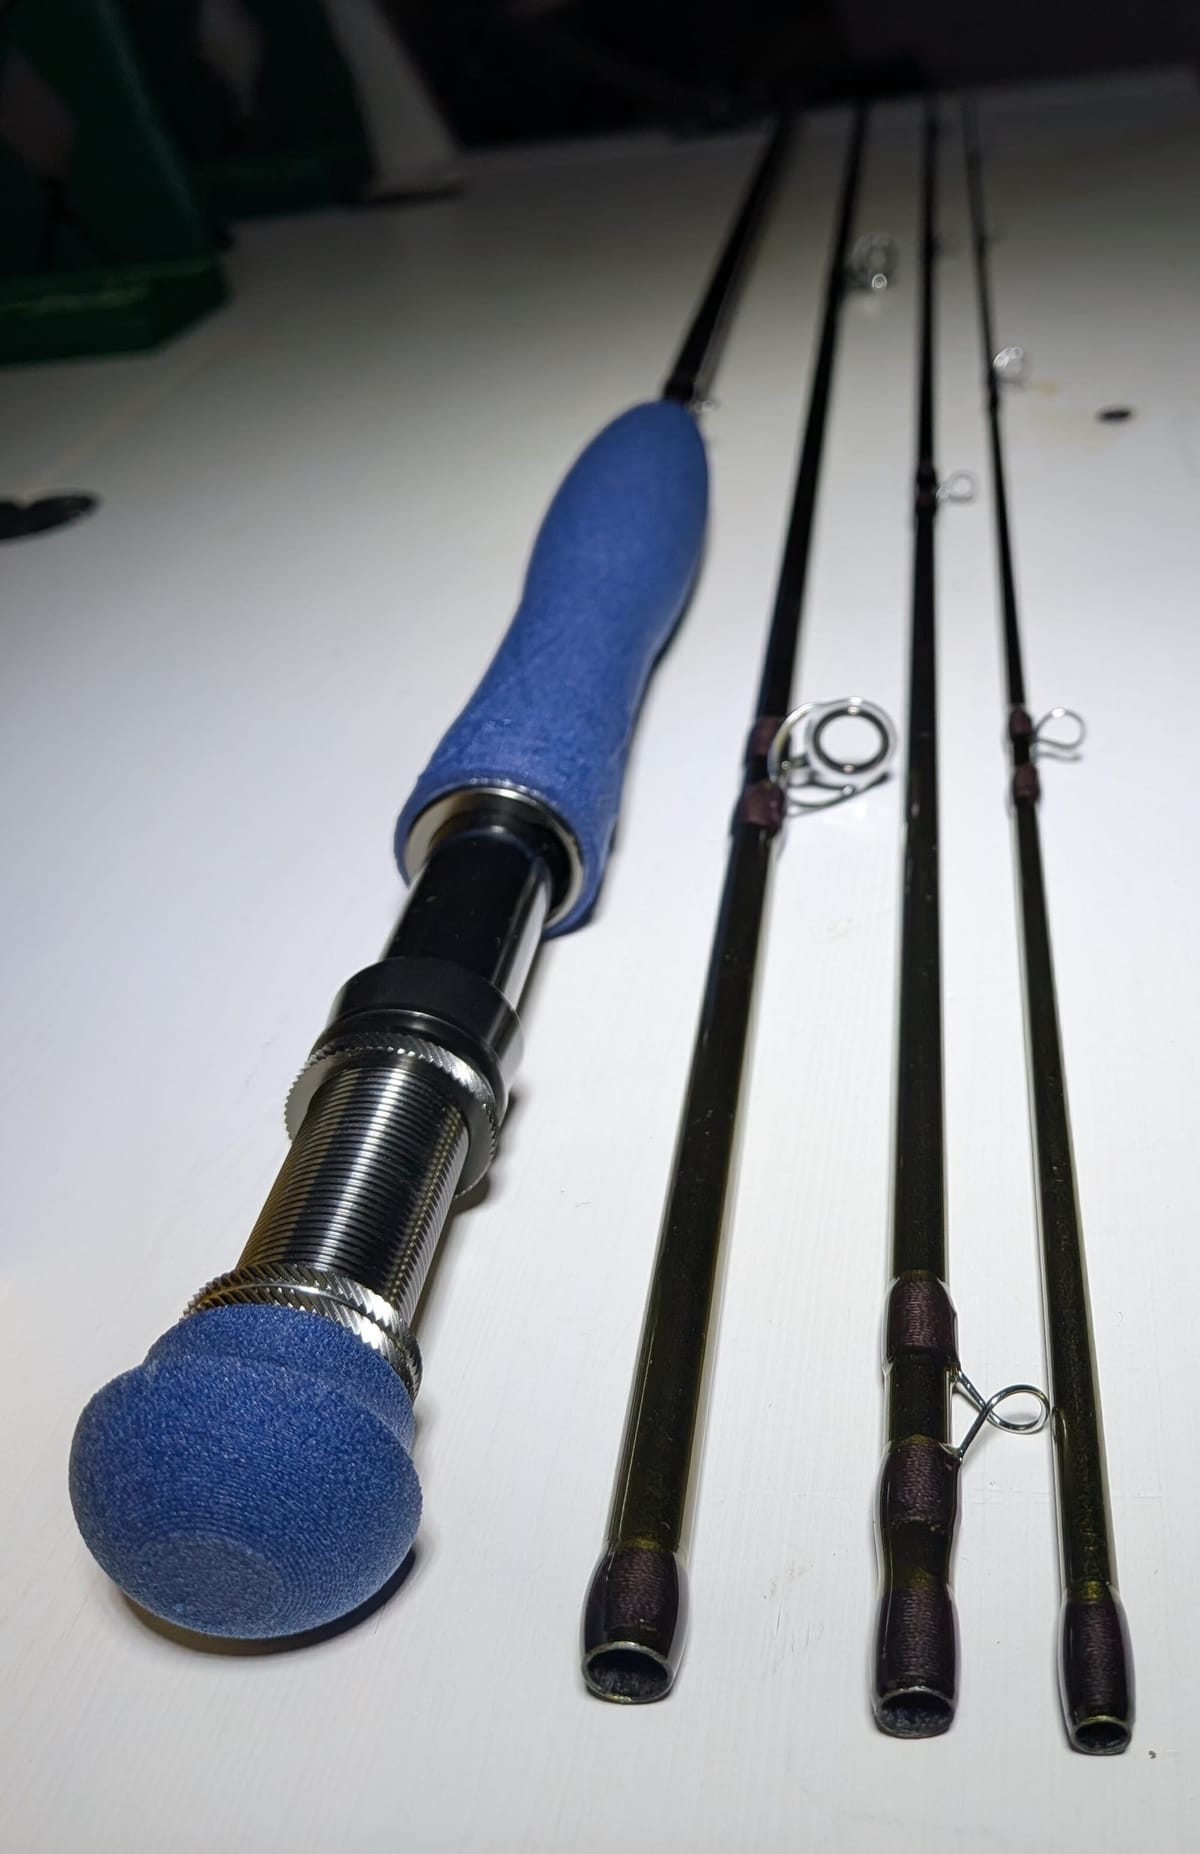
You can see from the photo that I didn't get the thread laid completely evenly on these largest guides. Honestly, it doesn't matter — the wrap and finish will hold. Cosmetic stuff. If for some reason you don't want to see these gaps, a black blank, black guides, and black thread are the key to happiness. The mistakes don't disappear, but they're hard to spot. The side profile is still pretty clean. You can see the finish here too — a hint extending onto the blank from both ends.
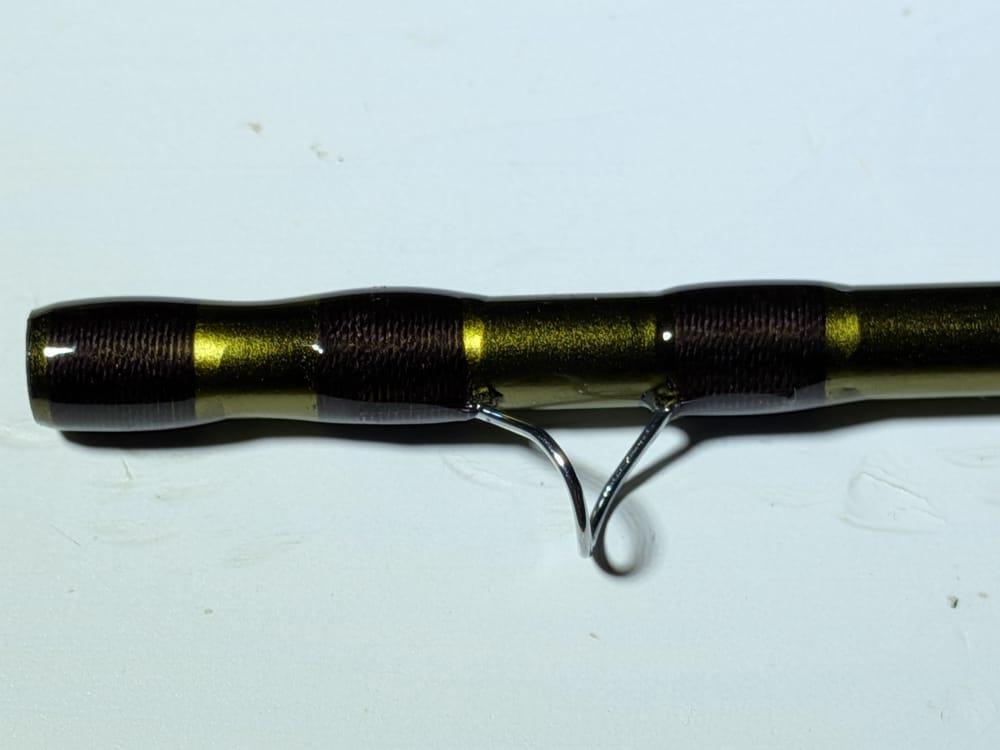
I also wrap a short wrap at the blank's ferrules. There's not much to say about finishing itself — I start by generously brushing epoxy all over the wrap so it definitely soaks in everywhere. Only after that do I spin it and carefully expand the finish slightly past the edges with a brush. I own two dryers, so I could finish two parts at once, but mistakes tend to multiply when there are too many moving parts. So I finish one part at a time. It usually takes a few days before I've got everything coated.
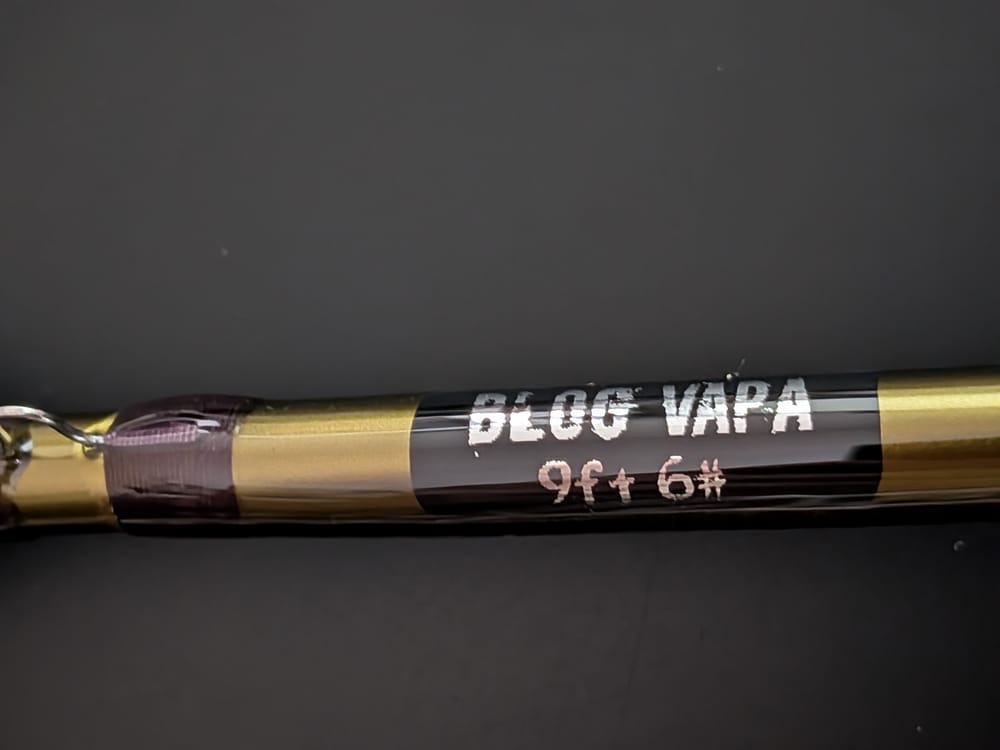
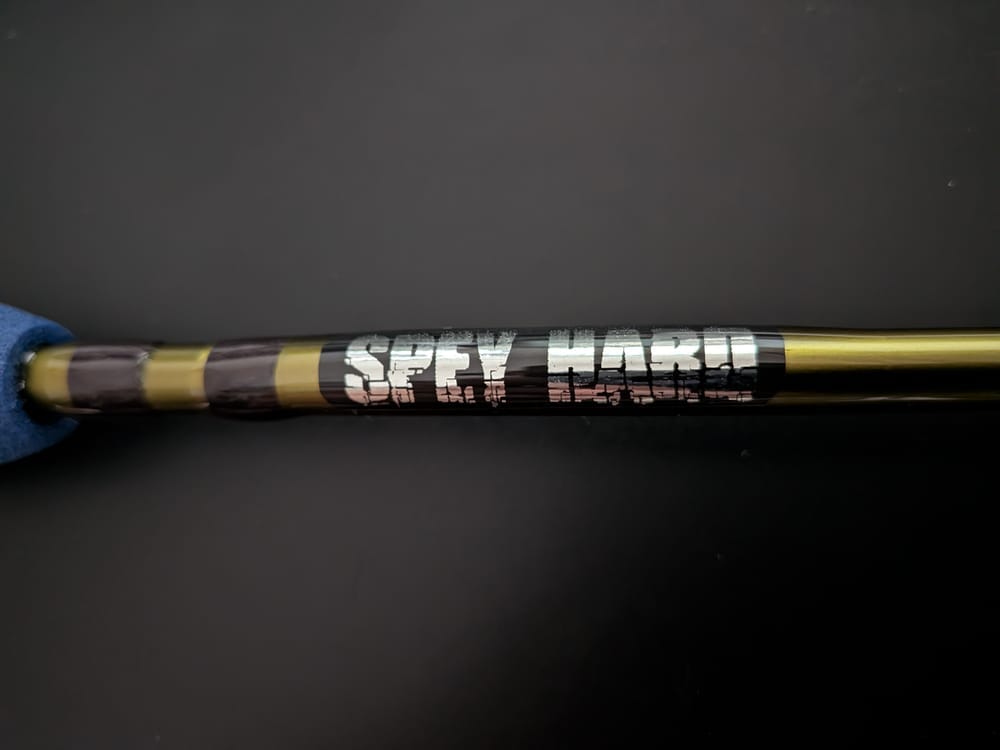
I put the rod's decals under the finish. For these larger surface areas, don't skimp on epoxy. Brush it generously everywhere on the desired area first, then let the dryer do the rest. Excess drips off and what remains is a smooth result. The less you fuss with the finish while it's spinning, the better. I've managed to make these wavy and swirled precisely by repeatedly smoothing when I should have just walked out of the room.
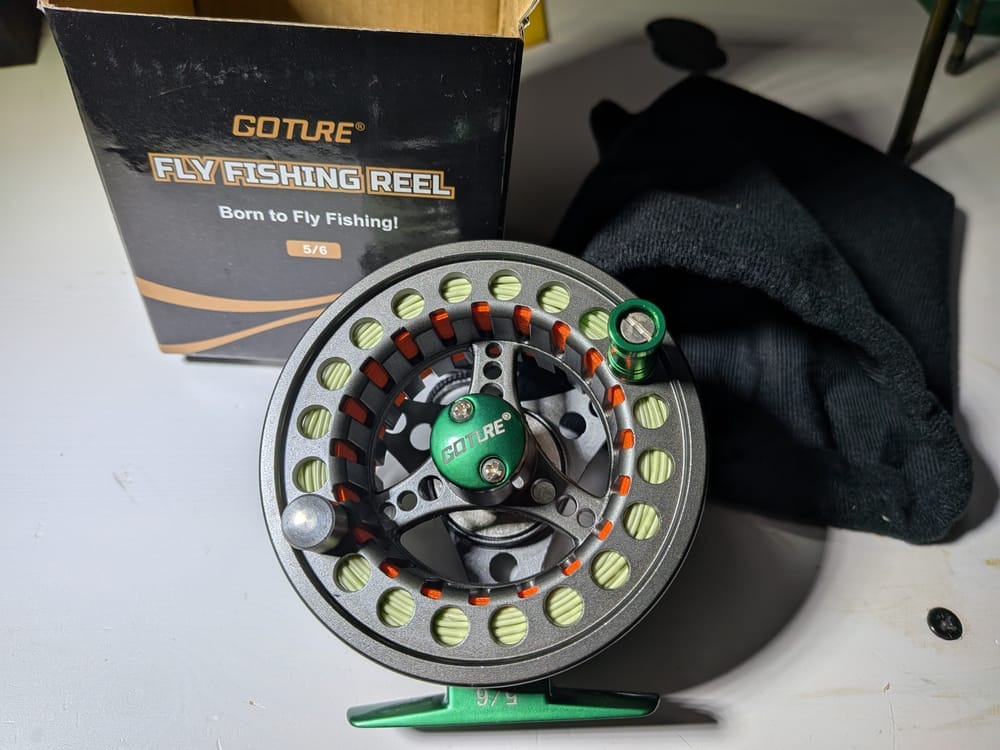
The rod is done. Test casts will happen next summer as soon as I get to the water. I got a ready-made reel-line combo for this that should at least theoretically work. We'll see about that.