Fly Rod 6wt 9ft — Parts and Tools

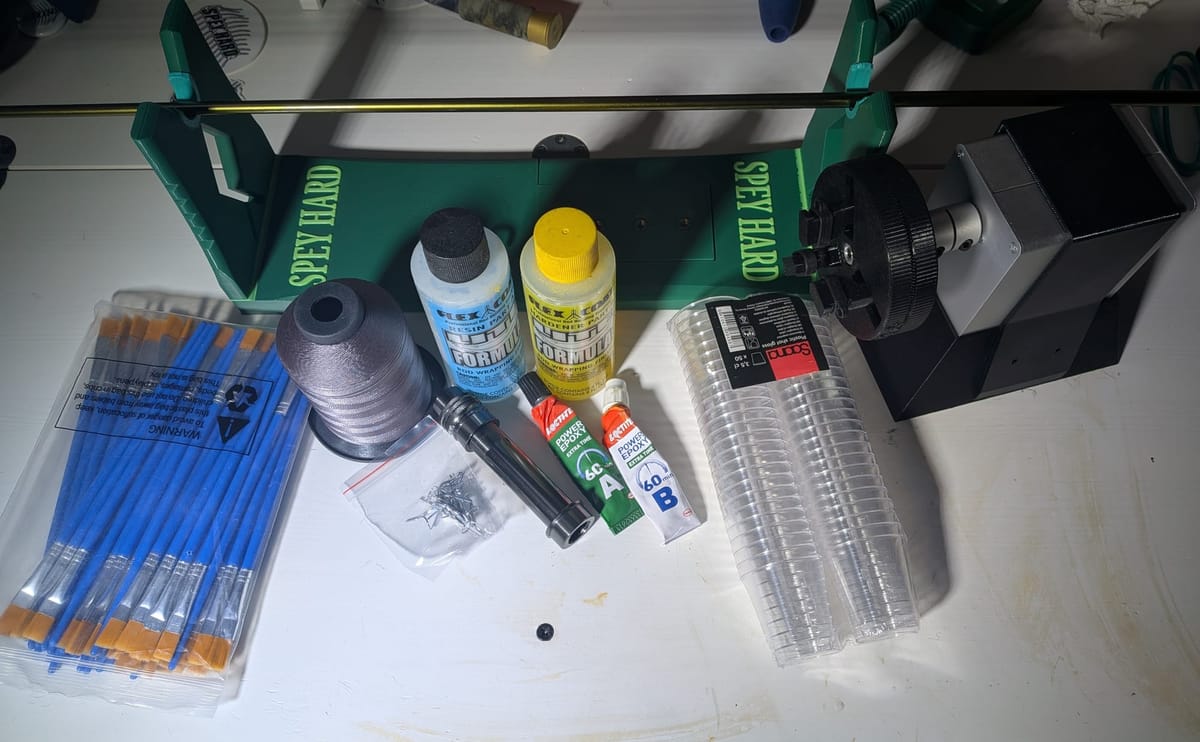
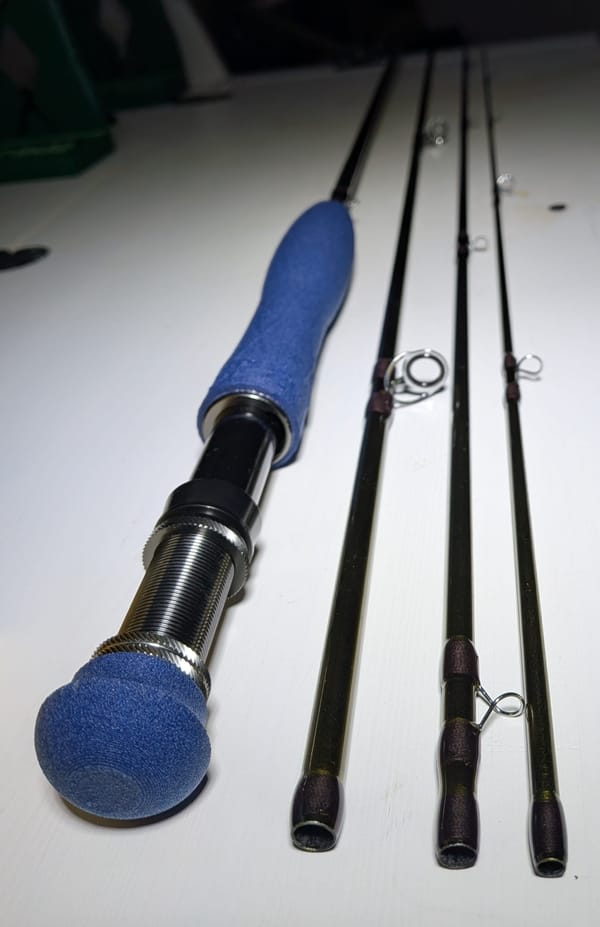
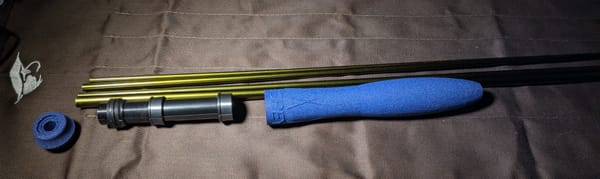
The blank is an Aventik 9ft 6wt. I'm making a basic handle for this and a small printed extension below the reel seat. Many reel seats come with that threaded "cap" or similar piece for the butt end, but they don't survive my use. They break or fall off somewhere, and then you're left figuring out something else to stick on the end. Let's sort out that mess right from the start. The reel seat is a NooNRoo 16# from AliExpress, and the guides are some ready-made set from the same place. I usually go with snake guides, which is what this one gets too. The links will probably stop working at some point, but I'll try to fix them later if I notice and remember.
I'd naturally prefer that you source parts domestically. Supporting local businesses is good, but the selection is usually pretty thin or at least expensive. The idea here, however, is to show that building a rod doesn't necessarily require the most expensive and best parts. Cheap and good parts from anywhere work just fine. I'm not selling these either, so nobody needs to hear marketing pitches about titanium reel seats or guides and mystical wrapping thread with a precisely researched blend or combination of fibers that increases casting power by 3.687%. The "launches your fly into a birch tree on the opposite bank" stories are someone else's hay. This knight in matte waders is wrapping tinsel thread onto a blank made in some faraway country and hoping for the best.
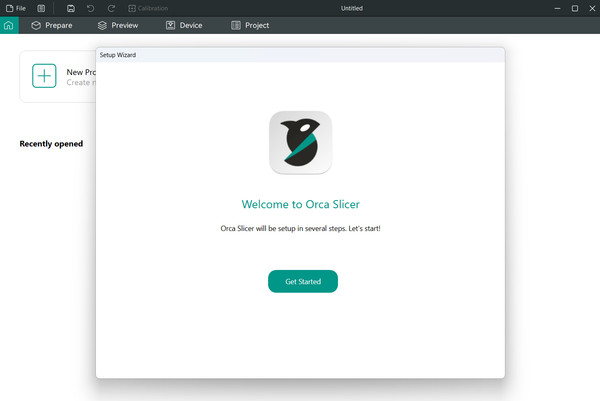
3D printer: Almost anything works, as long as it has a direct drive extruder and can handle around 250°C print head temperatures. The bed doesn't need to be heated — I don't heat mine anyway.
Filament:
Blank: Aventik Freshwater IM10 9'0' High Mould Carbon Fly Rod Blanks Two Tips
Reel seat: NooNRoo Aluminum Fishing rod Reel Seat 16# Fishing Rod building reel seat DIY
Guides: NooNRoo Fly Rod Repair Guide Set 2 Bags, 10ft-11ft 2wt-6wt Even though I'm building a 9ft rod, I ordered the set meant for the longer rod. You get one extra guide per set, and there are two sets included.
Wrapping thread: Thread Special line Nofading Nodiscoloration Wrap Guide Repair Rod Component DIY 210D Nylon I went with fairly thick 210D thread in case I get enthusiastic about photographing the wraps. Thicker shows up better. Color K. This is a ridiculously oversized spool for building one rod, so if you're only planning to make one, order a suitably small spool from e.g. Mistpool.
Wrapping jig: Free style here — you can use a suitably sized cardboard box. YouTube has piles of videos on this; just search for "rod building cardboard." I use a 3D-printed jig myself.
I've ordered finishes from within the EU and from wherever I've happened to find them, since sometimes the shelves are empty everywhere. The finish for this blank will be Flex Coat Lite. Order from e.g. Mistpool, HiLevel. I don't use the dual-syringe models with a pump. The mix ratios never come out right with those. I always take two separate bottles where you can measure out exact amounts yourself. For finishing, it helps a lot to also pick up some plastic shot glasses for mixing cups and a pile of cheap brushes. Since they're cheap, you can toss them after use and grab fresh ones for the next session. I recycled these many times at first and even printed mixing cups, but that's not very practical when easier options exist. I still print the mixing sticks myself. Air bubbles often form in the finish during application, so it's good to have one of those blue flame torch lighters handy. The idea isn't to scorch the finish directly — just quick pops of flame near the epoxy are usually enough to pop the bubbles. Shot glasses, Brushes, Torch lighter
When messing around with epoxies, resins, and other adhesives, wear protective gloves. Nitrile gloves
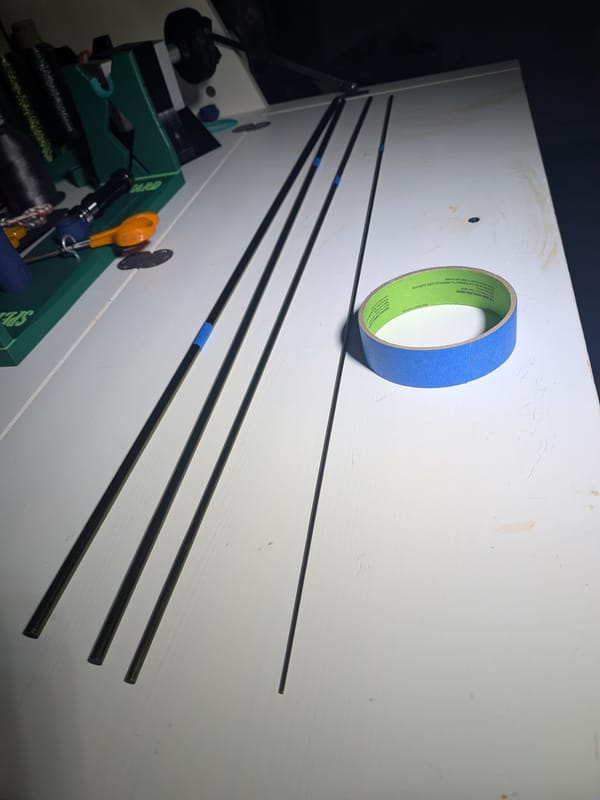
Also epoxy glue — I use Loctite Power Epoxy 60min. The 5min version would probably work just as well, but since I always manage to mess things up, it's good to have extra time for fixing mistakes. You'll also need painter's tape and sandpaper. I use blue tape for markings and yellow tape under the reel seat. The sandpaper doesn't need to be the coarsest grit — something moderately rough is right. It's for lightly sanding the blank when prepping it for gluing. Loctite Power Epoxy, Blue tape, Yellow tape, Sandpaper
And if you want to properly clean the blank after sanding, all the finger-handling, and tape residue, isopropyl alcohol is the right stuff for that. I also use it to clean my print bed regularly, so it serves multiple purposes. Isopropanol